In a car-ruled world, why not drive all the things? GambiCon01 lets you play games with the glamour of car civilization and its ideology!
What can I play with a GambiCon01?
The controller is compatible with any keyboard game that uses the arrow keys. It was designed specifically for Carrocalipse, a game by Pedro Paiva about the ruins of capitalism and a car-ruled world.
Do-it-yourself
Here you can find a full list of materials, diagrams and detailed step-by-step instructions for making your own GambiCon01.
This controller has two main components. First, a steering wheel and axis, which extends the box where the keyboard is held and controls the left and right arrow keys. The second component are the pedals which the player uses to move the up and down arrow keys.
The steering wheel and axis
This part of the GambiCon lets you move sideways in the game by moving your steering wheel, which turns an axis and a U-piece presses the arrow keys. It also has some internal structures that will hold the pedals later on.
Materials & equipment list
- 1x large piece of flat cardboard (at least 30 per 30 inches)
- Duct tape
- Box cutter & scissors
- Marker pen
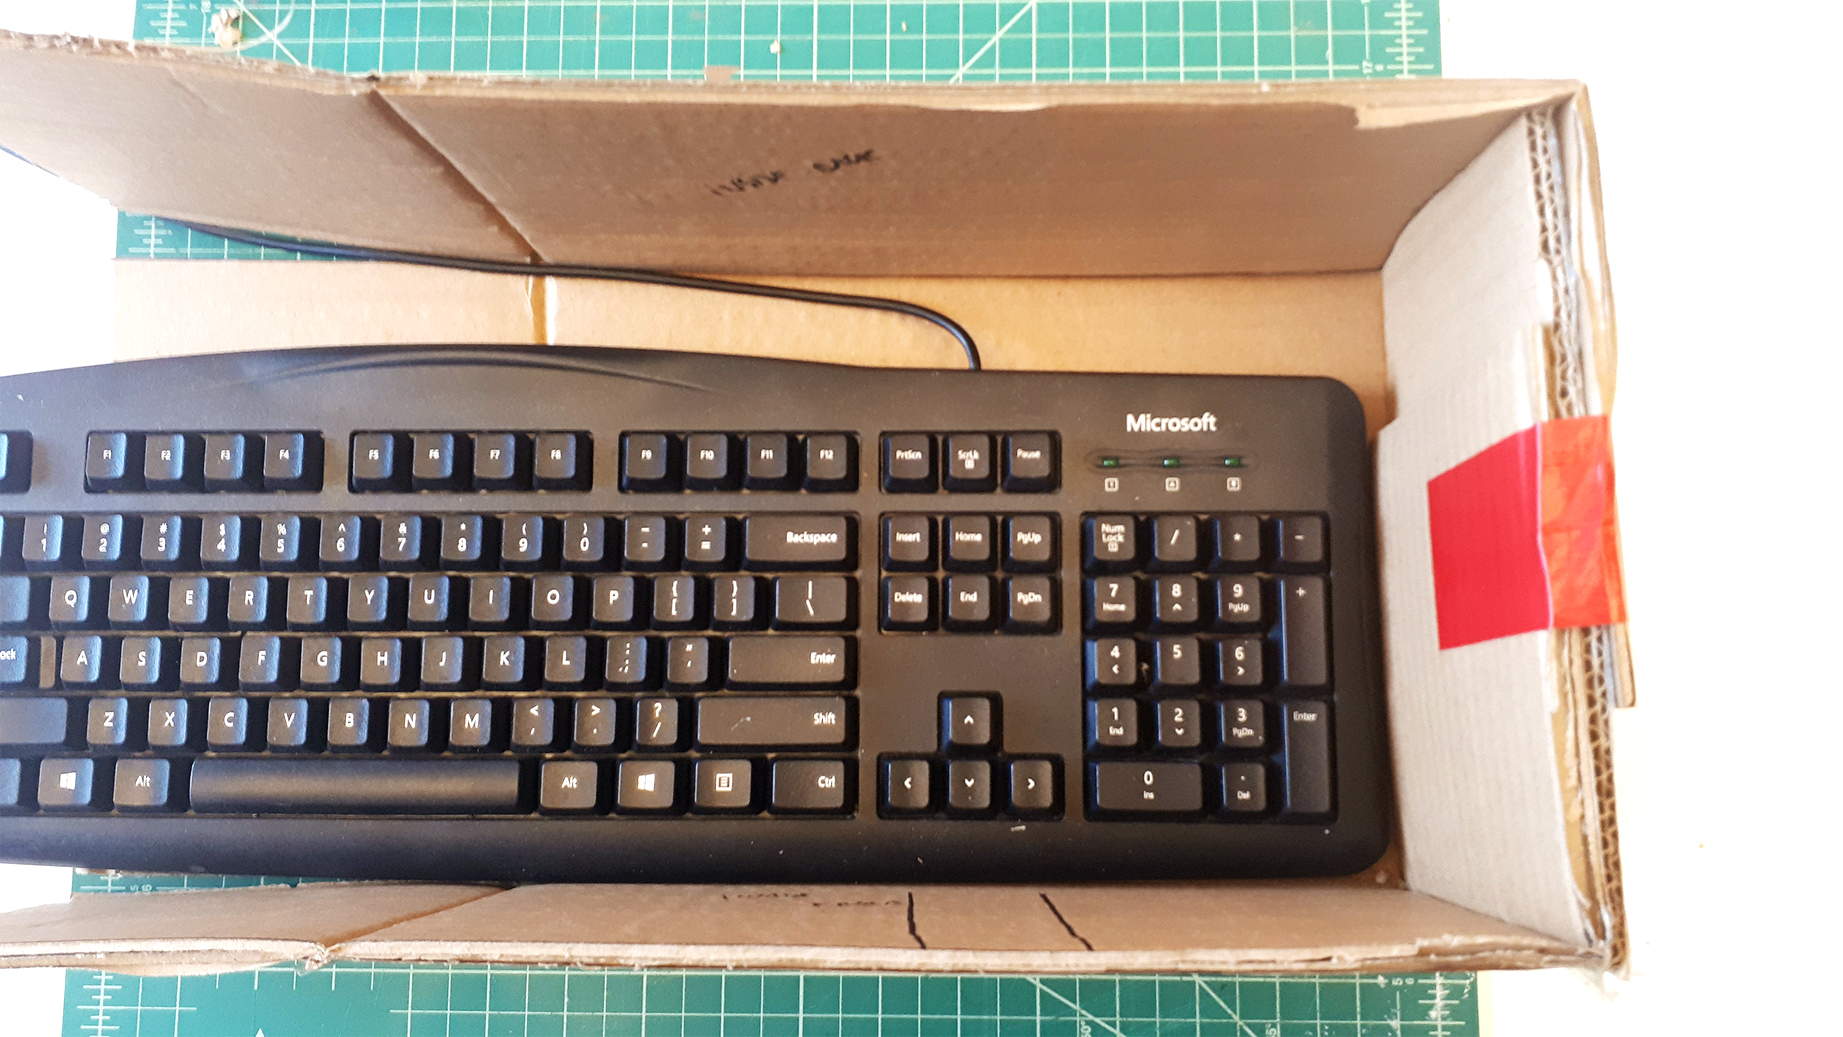
- Computer keyboard (with NumPad)
Instructions
Repurpose a shoebox (in which your keyboard can fit) or print this cut-and-fold diagram. Cut on the solid lines and fold on the dashed ones. Use duct tape to secure the right side of the box for now.
Use a straight edge to measure from your left and right arrow keys up on the wall. This measure is very important, as it will determine the width of the steering wheel axis and other structures.
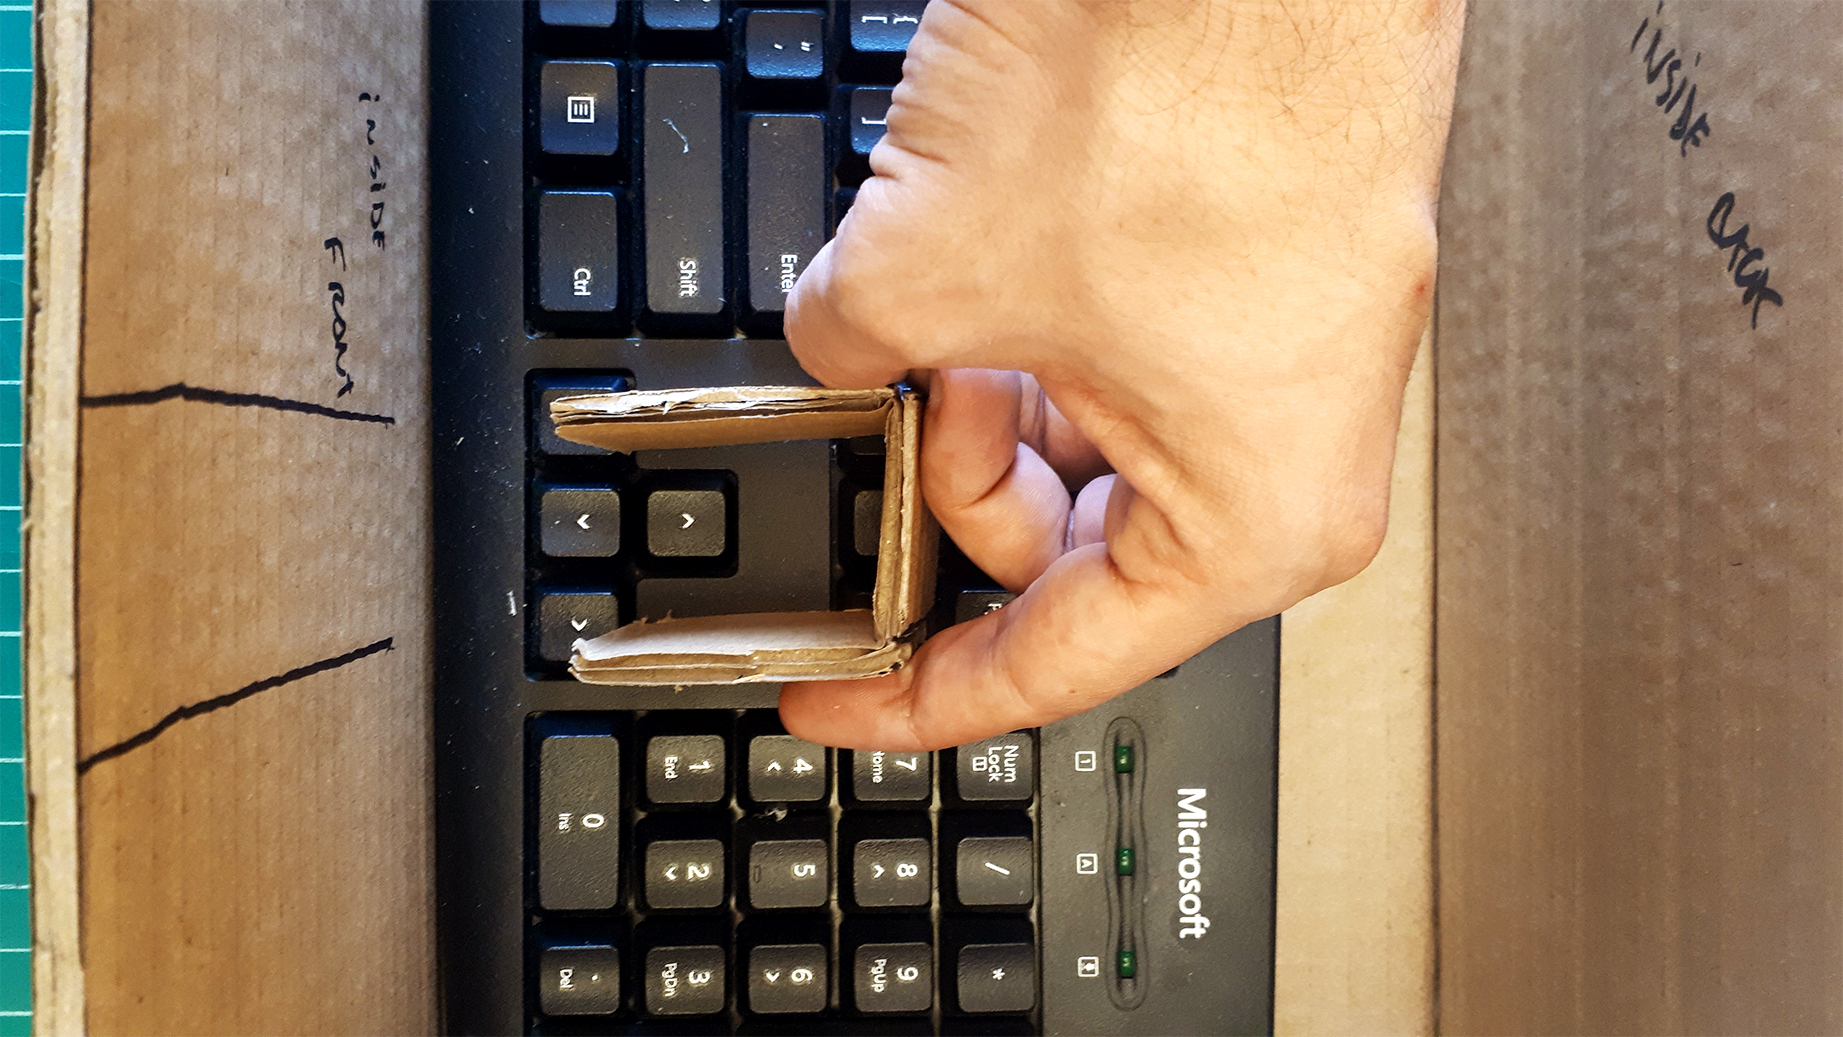
Prepare a U-shaped piece with middle section with the width of the arrow keys. This piece will be attached to the steering wheel axis later on, so it needs to have equal sides.
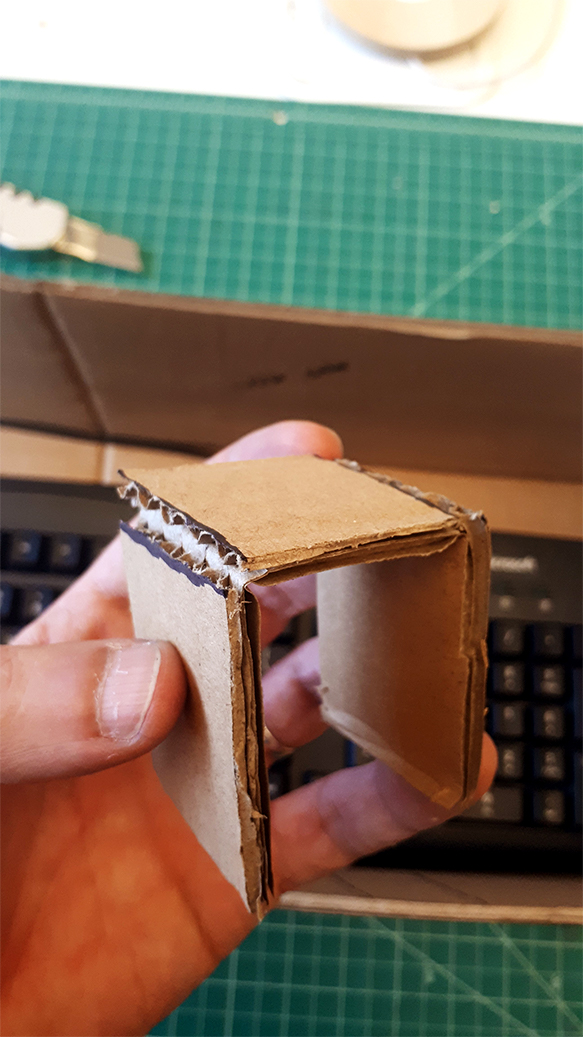
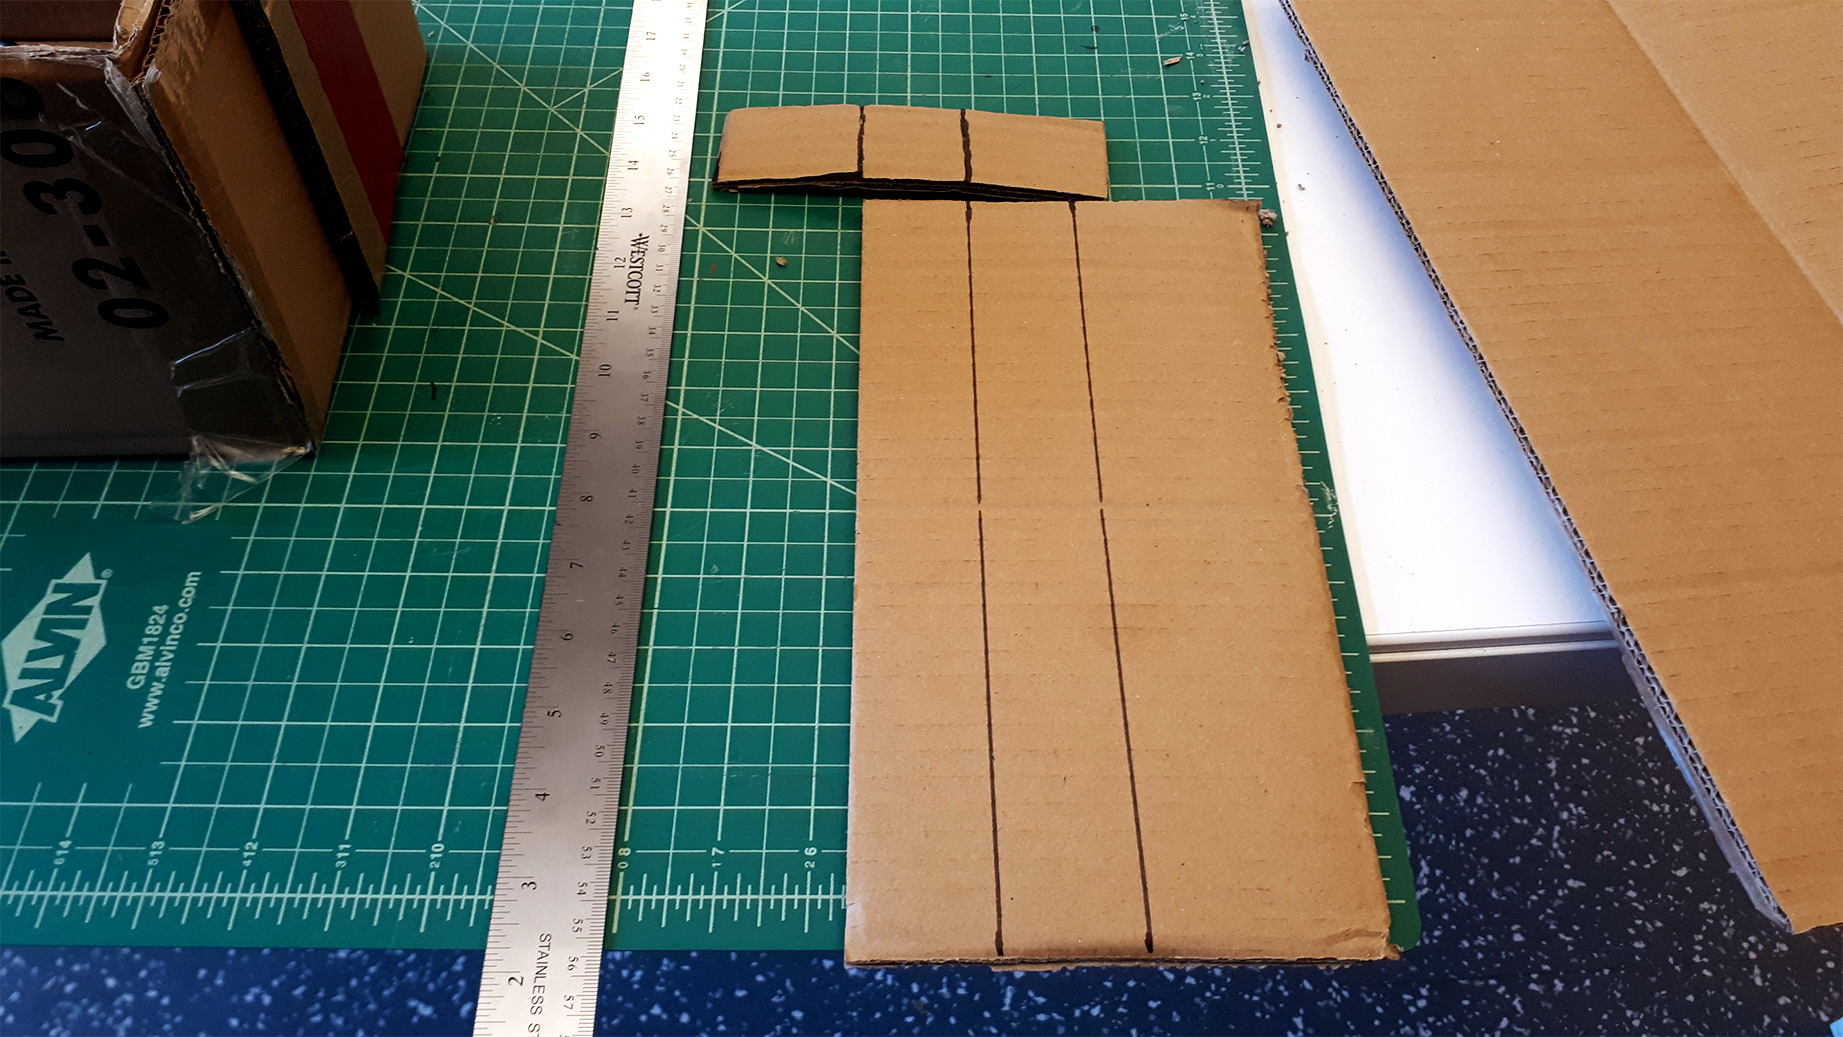
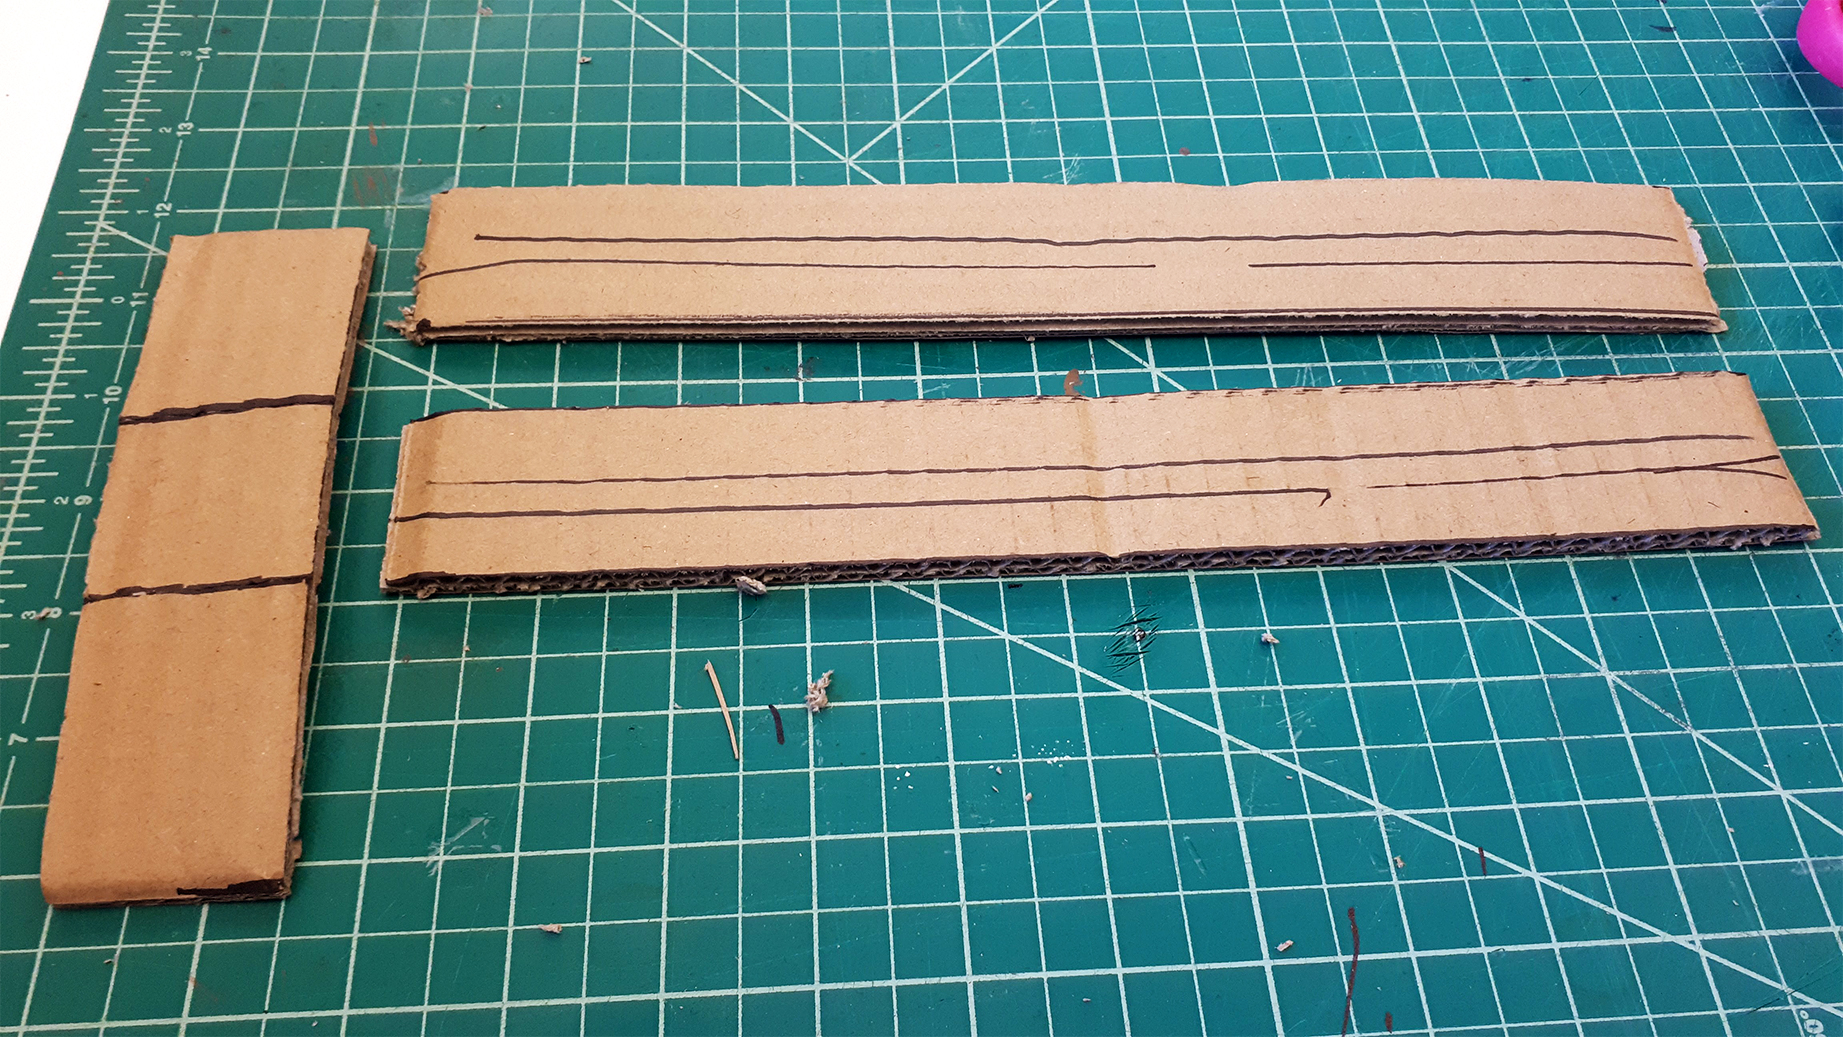
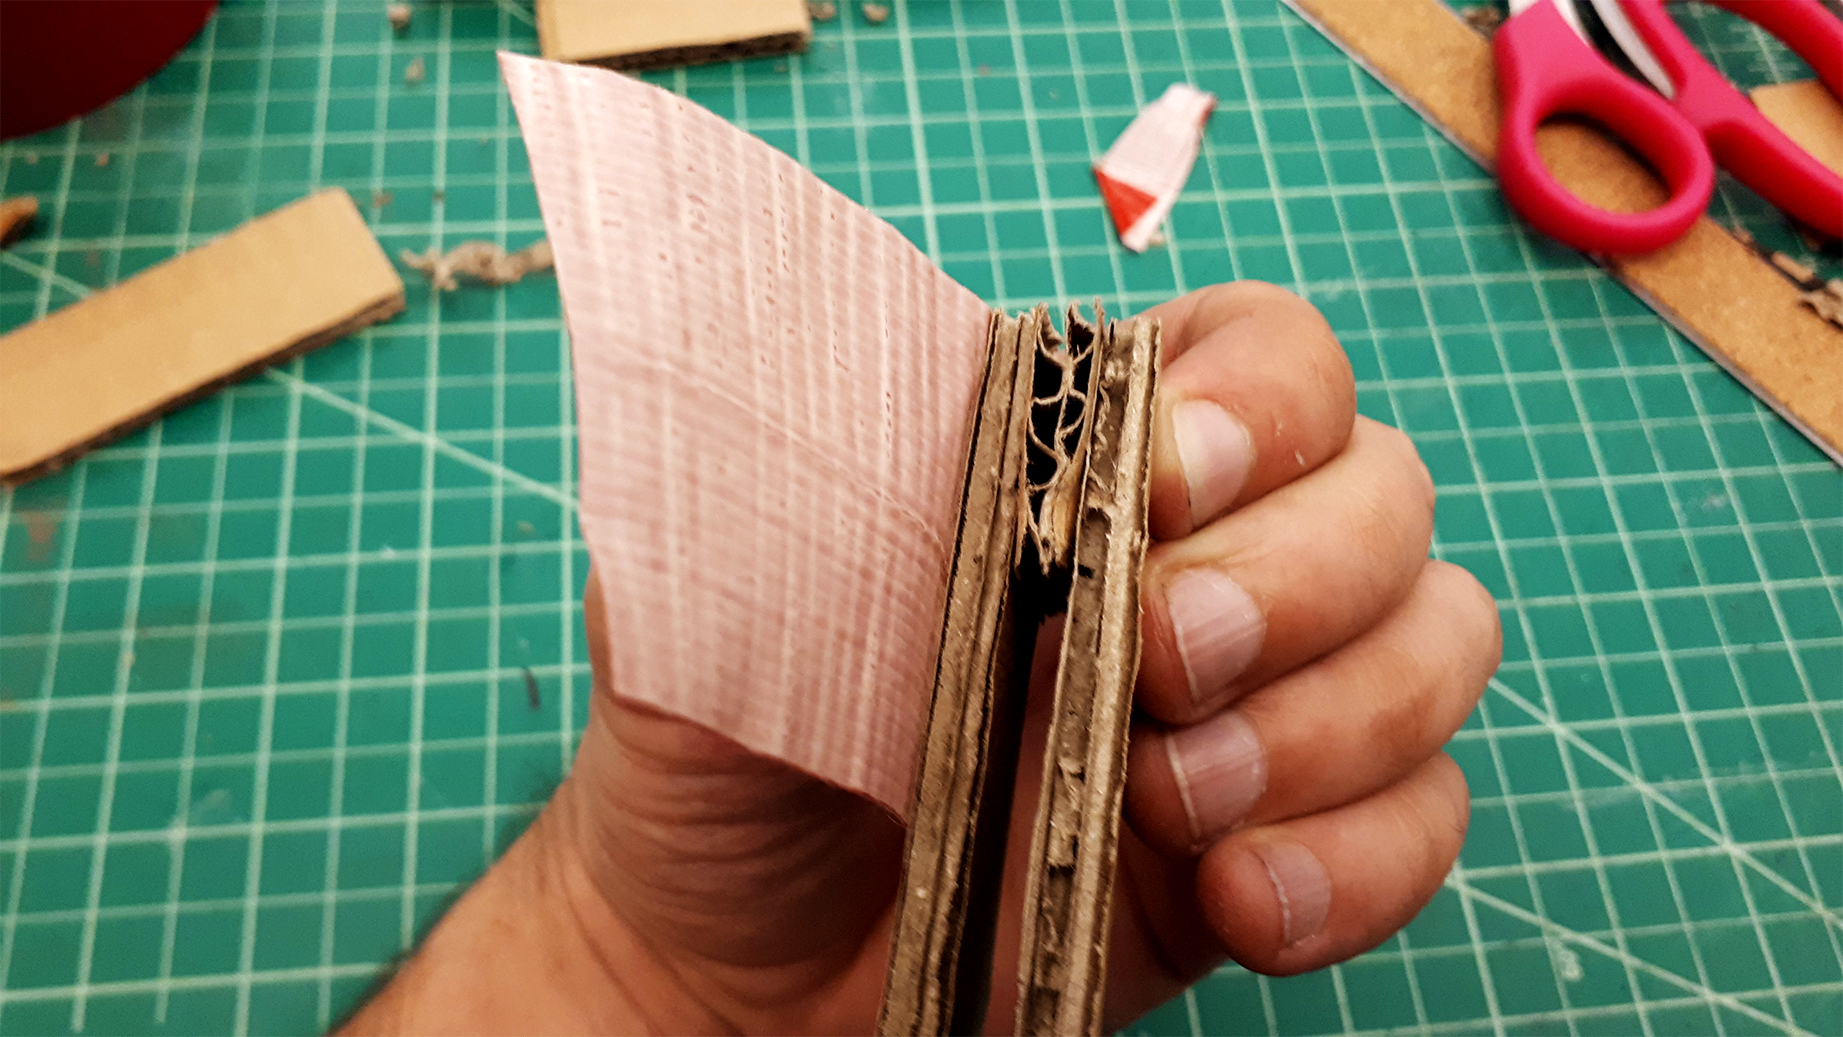
Use the U-shaped piece to find out the width of your axis. Use the middle section of the U to measure the width of two strips of cardboard that are around 12 inches (30cm) long. You’ll get better results if the corrugation of the cardboard runs parallel to the axis.
Put the axis pieces in a cross section. Use a marker to trace their intersection in the pieces. Cut half of that intersection away in each.
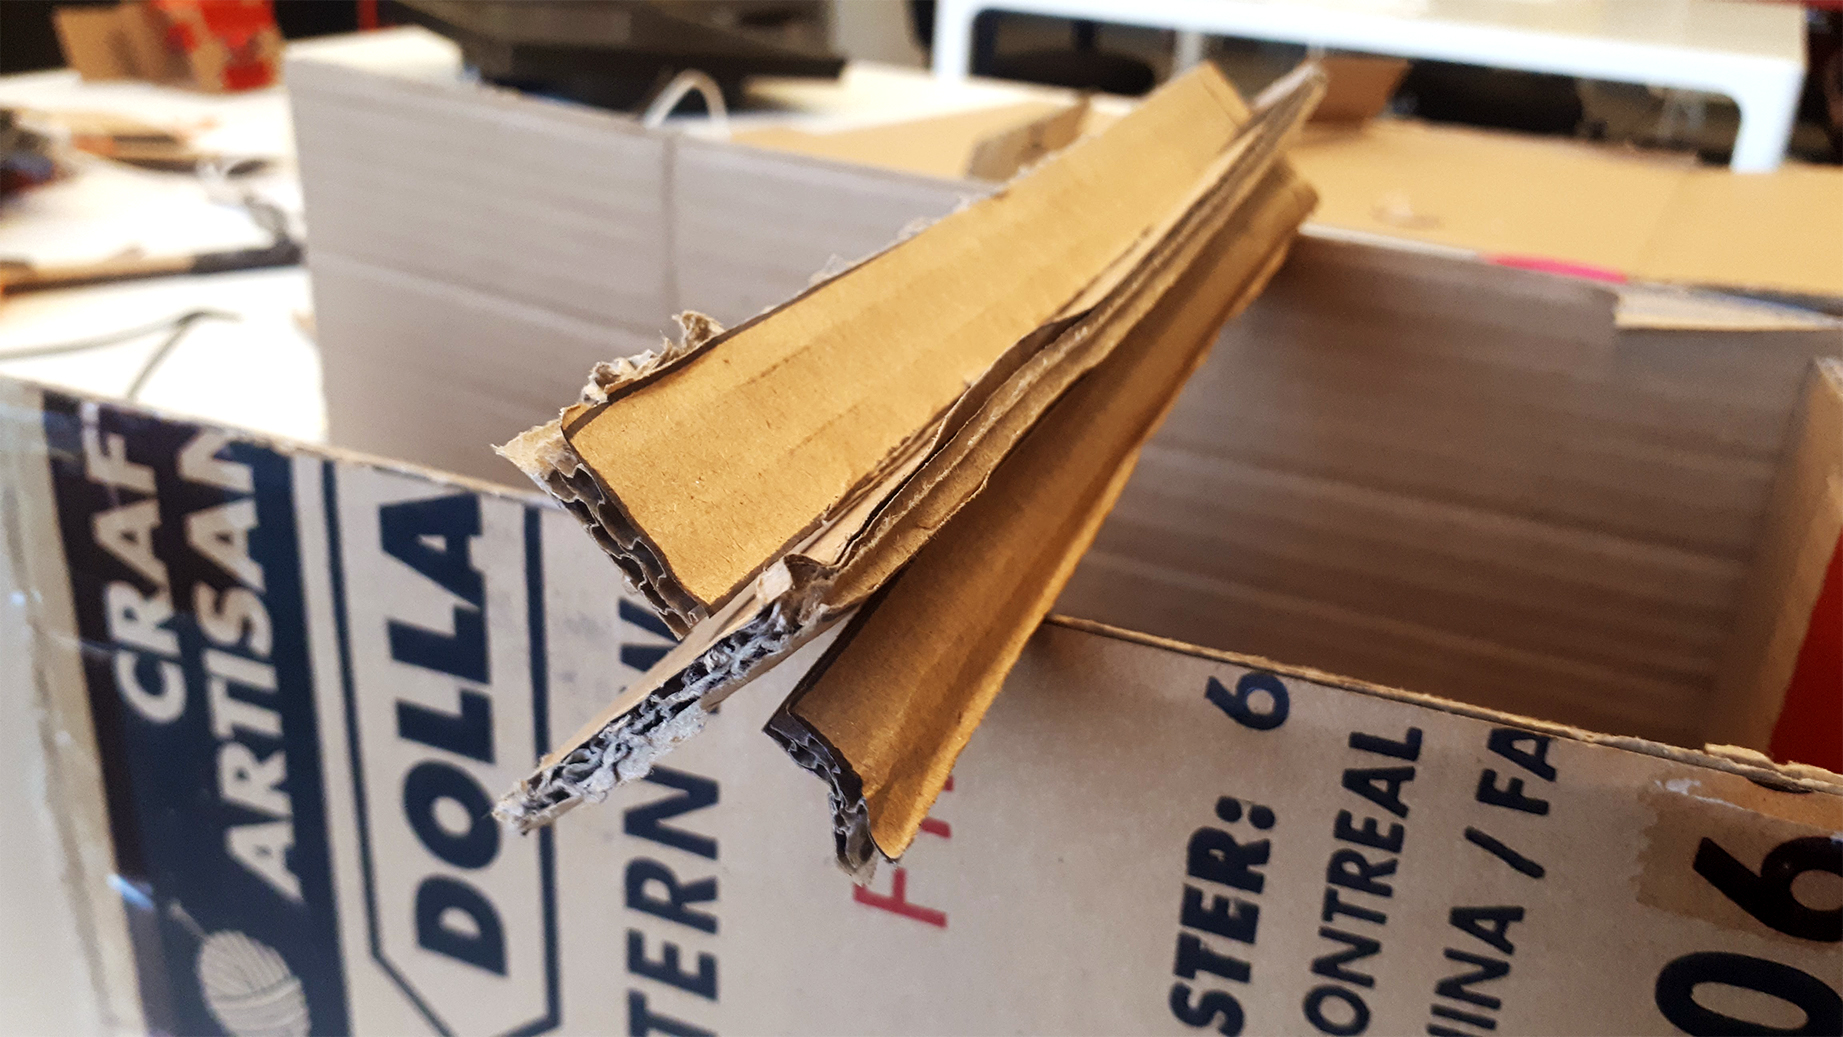
Assemble the axis by sliding the two pieces together by their ends.
Place it across the box to mark where the walls are relative to the axis, so that the depth of the axis is comfortable on the front and back of the box.
Use the U-piece to mark the axis where it will be near the arrow keys. This is where you’ll slip the U-piece later.
With the U-piece, mark the height of the axis on the box front wall. After marking the front, use the axis to mark where the whole will be on the back.
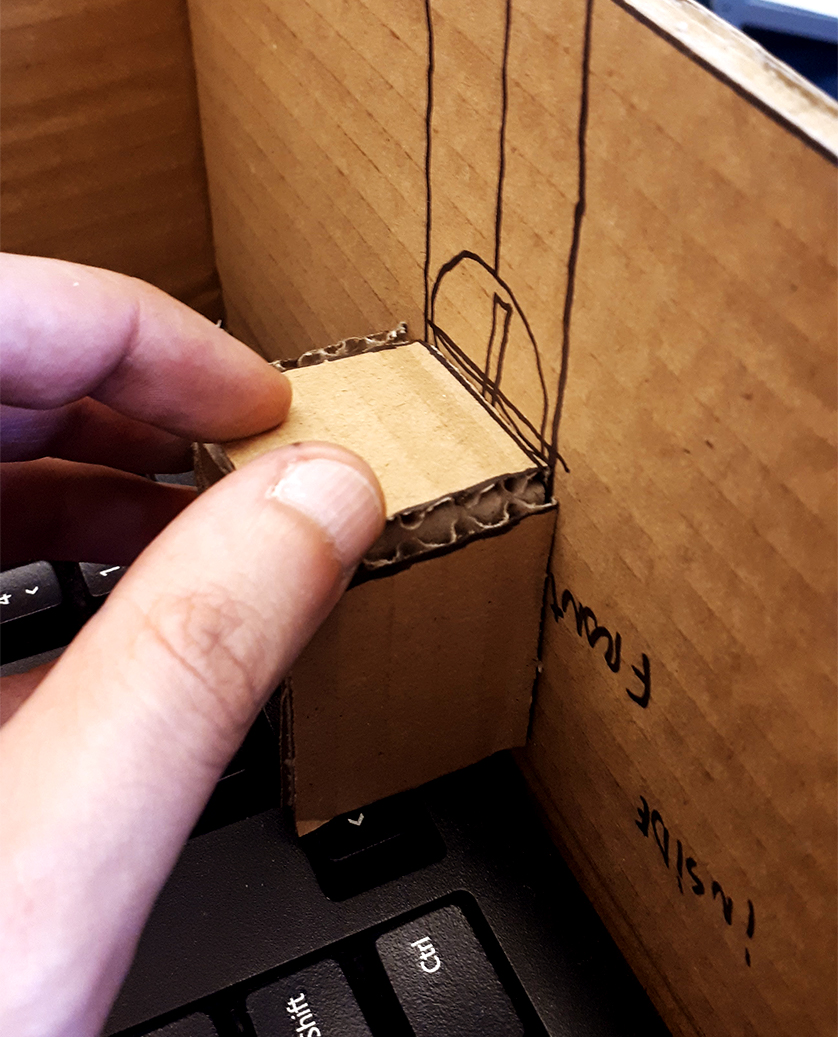
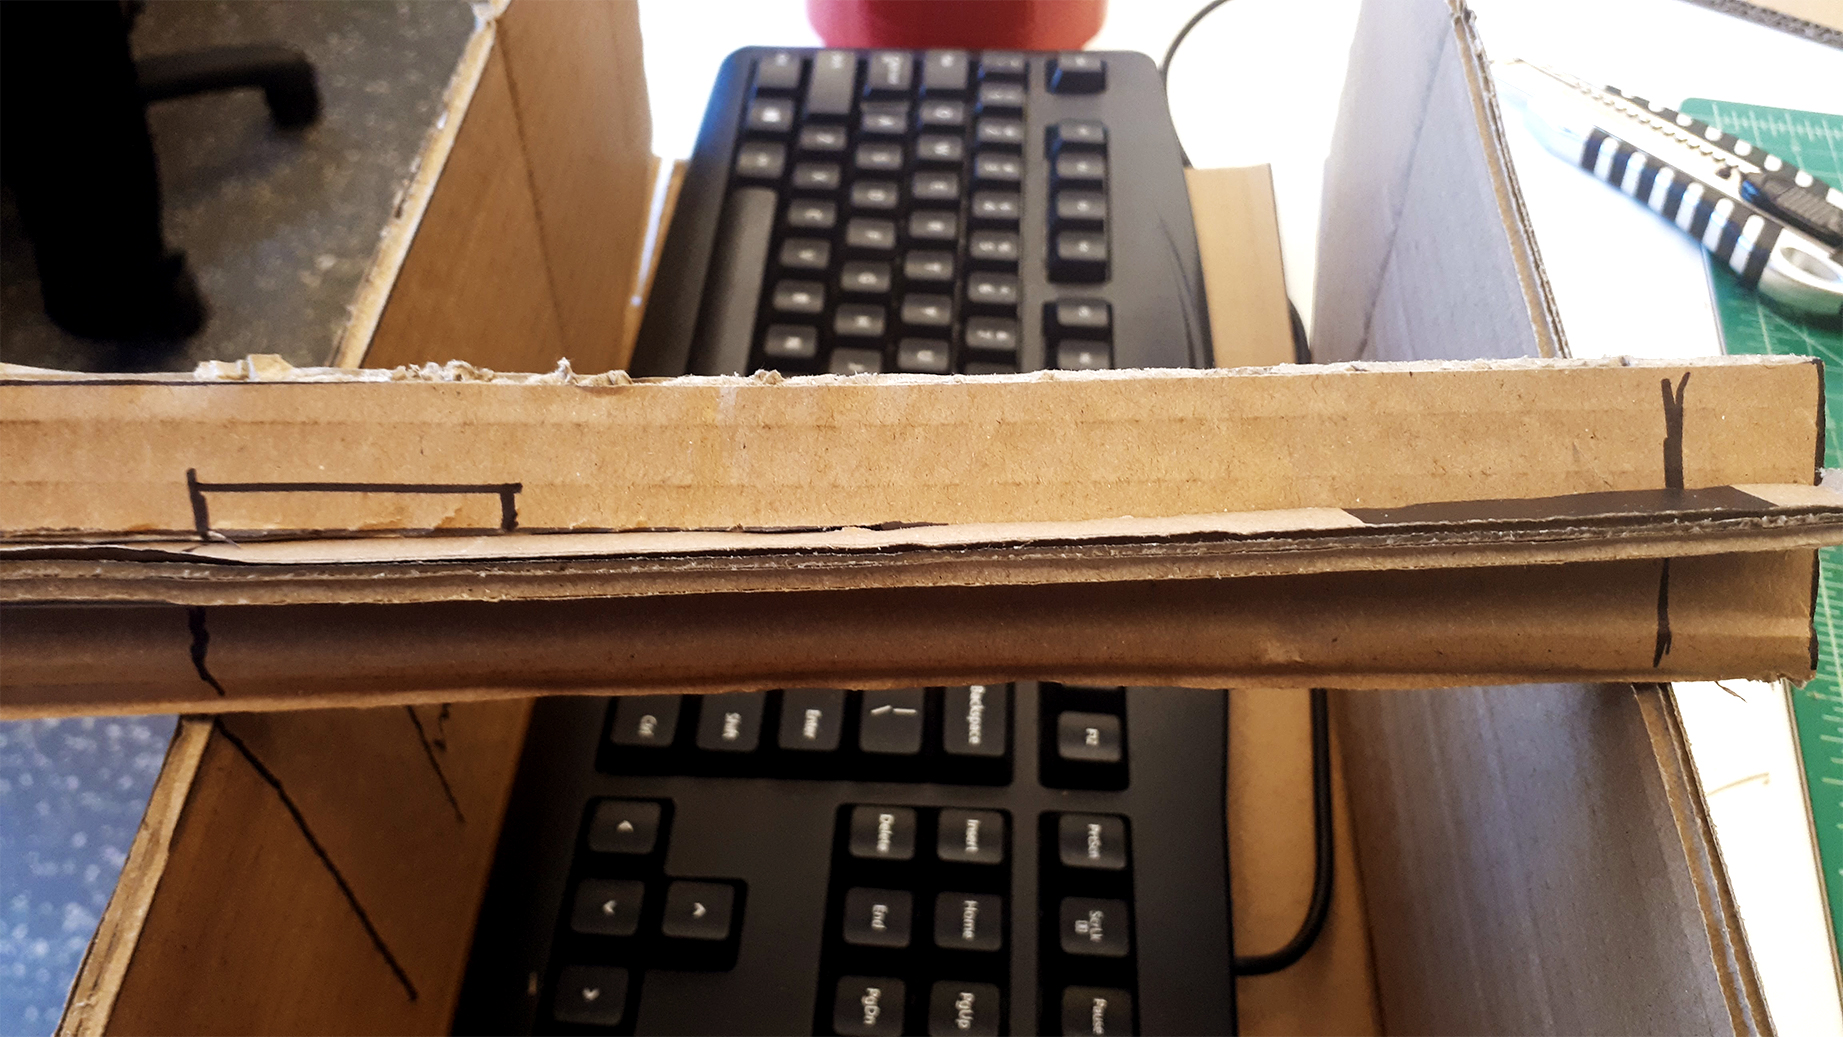
Cut the hole in the walls. After that, we’ll need two side rails to hold the tabs that press the keys in place. They are assembled by gluing 3 pieces of cardboard in parallel.
Attach the side rails across the box with tape. They must be placed in such a way that the slots they form are over the arrow keys.
Cut a large rectangular piece of cardboard to be your steering wheel. Mark the axis section on its center. Then you can cut the slots to fit the axis and attach the wheel to it with tape.

The pedals
To move forward or backwards, the GambiCon01 uses a pair of foot pedals. They press the keys by pulling one string for each direction in the NumPad. Remember to disable the NumLock key to turn this second set of arrow keys on.
Materials & equipment list
- 3x small pieces of flat cardboard
- Duct tape
- Box cutter & scissors
- Wooden dowel or stick
- String
Instructions
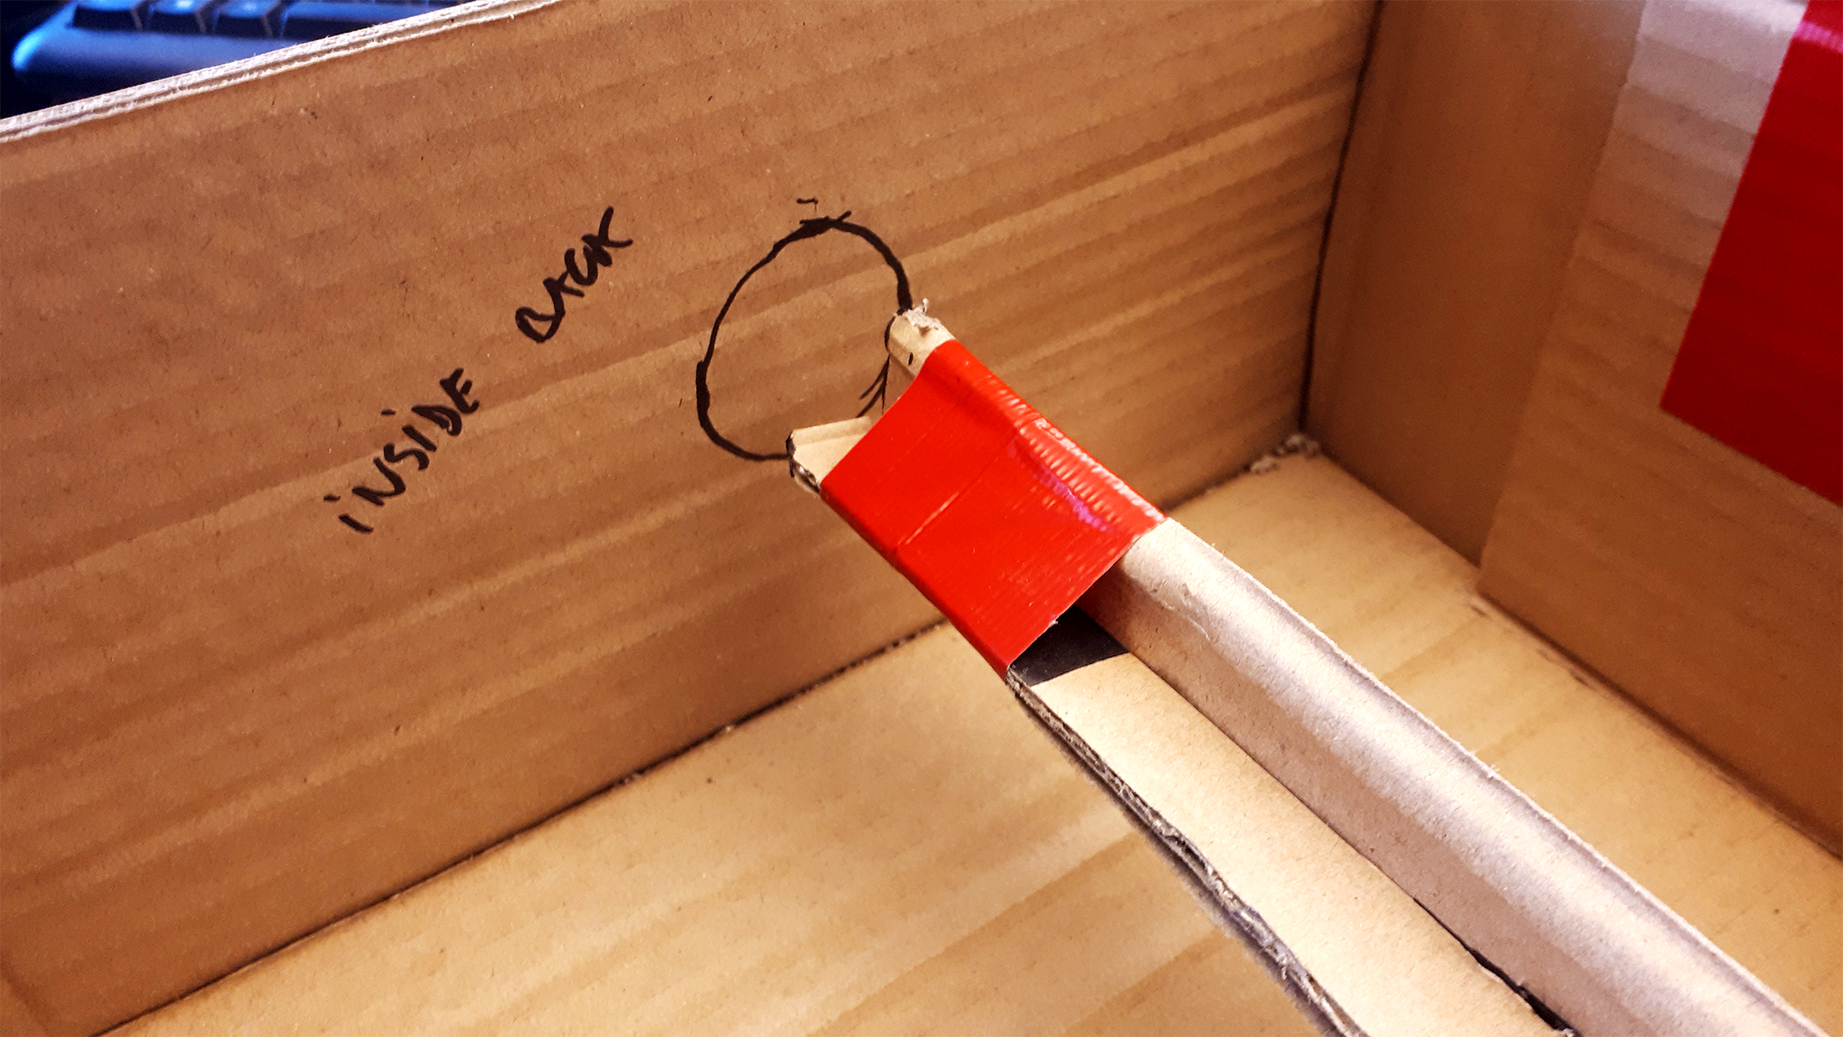
Make a whole in the right side of your box near the back side. Pass the dowel or stick through it and through the right side rail. This dowel will serve as a support for the pieces that will press the up and down keys on the NumPad (8 and 2, respectively).
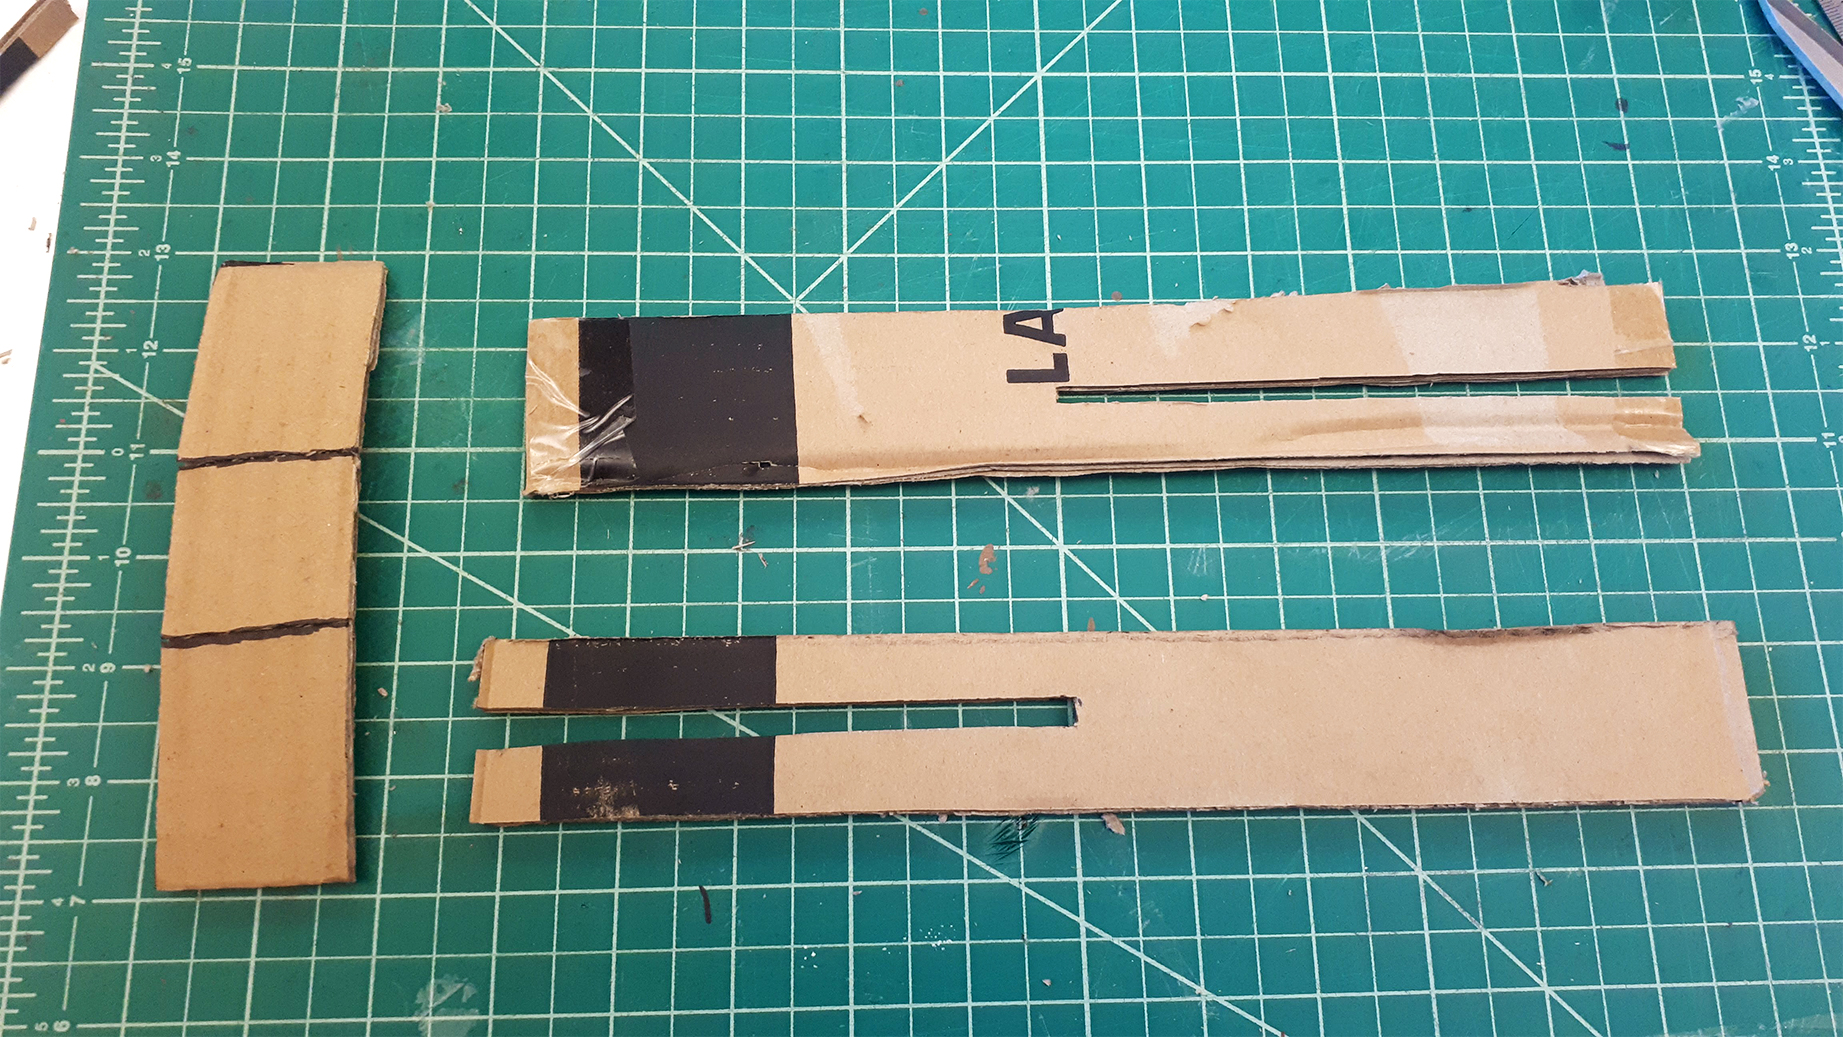
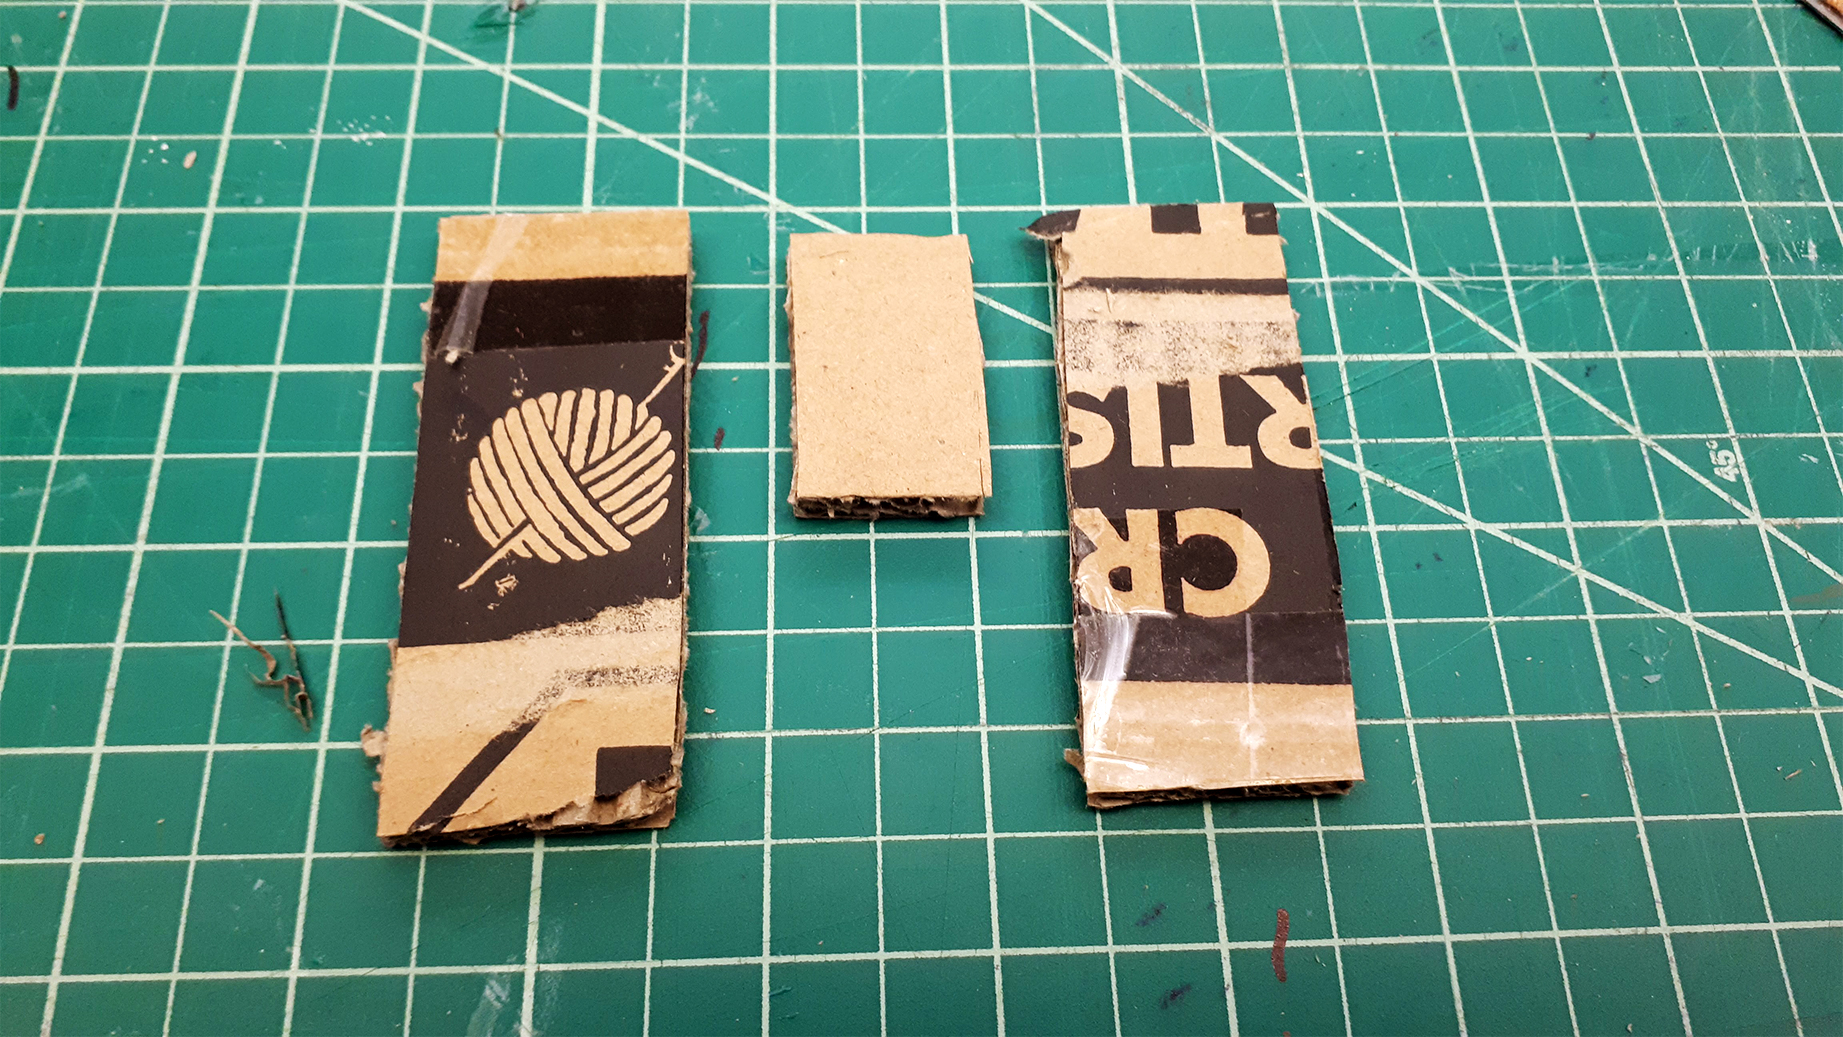
Prepare the key-pressing pieces. They are basically a small rectangle, long enough to reach the desired key. Punch a hole on the back part of it (for the dowel) and on the front (for the string that will pull it down).
The smaller piece of cardboard on the image serves to make sure that each of the pedal will activate just the intended key.
Use a rectangle of cardboard for the pedal. Make a small hole on one end to pass the string. To connect the string to the key-pressing piece, you’ll need to make a hole in the front side of the box, below the wheel. Pass the string through the whole and tie it to the key-pressing piece.