Why let your computer (plus the people & things that make it possible for you to use it) do all the work? GambiCon02 lets you bring your physical prowess to your immaterial labor games!
What can I play with a GambiCon02?
The controller is compatible with any mouse-based game that only uses the left-click button and the cursor. It was designed specifically for immaterial labor games, so maybe go seek your fortune on the free games below:
Do-it-yourself
Here you can find a full list of materials, diagrams and detailed step-by-step instructions for making your own GambiCon02.
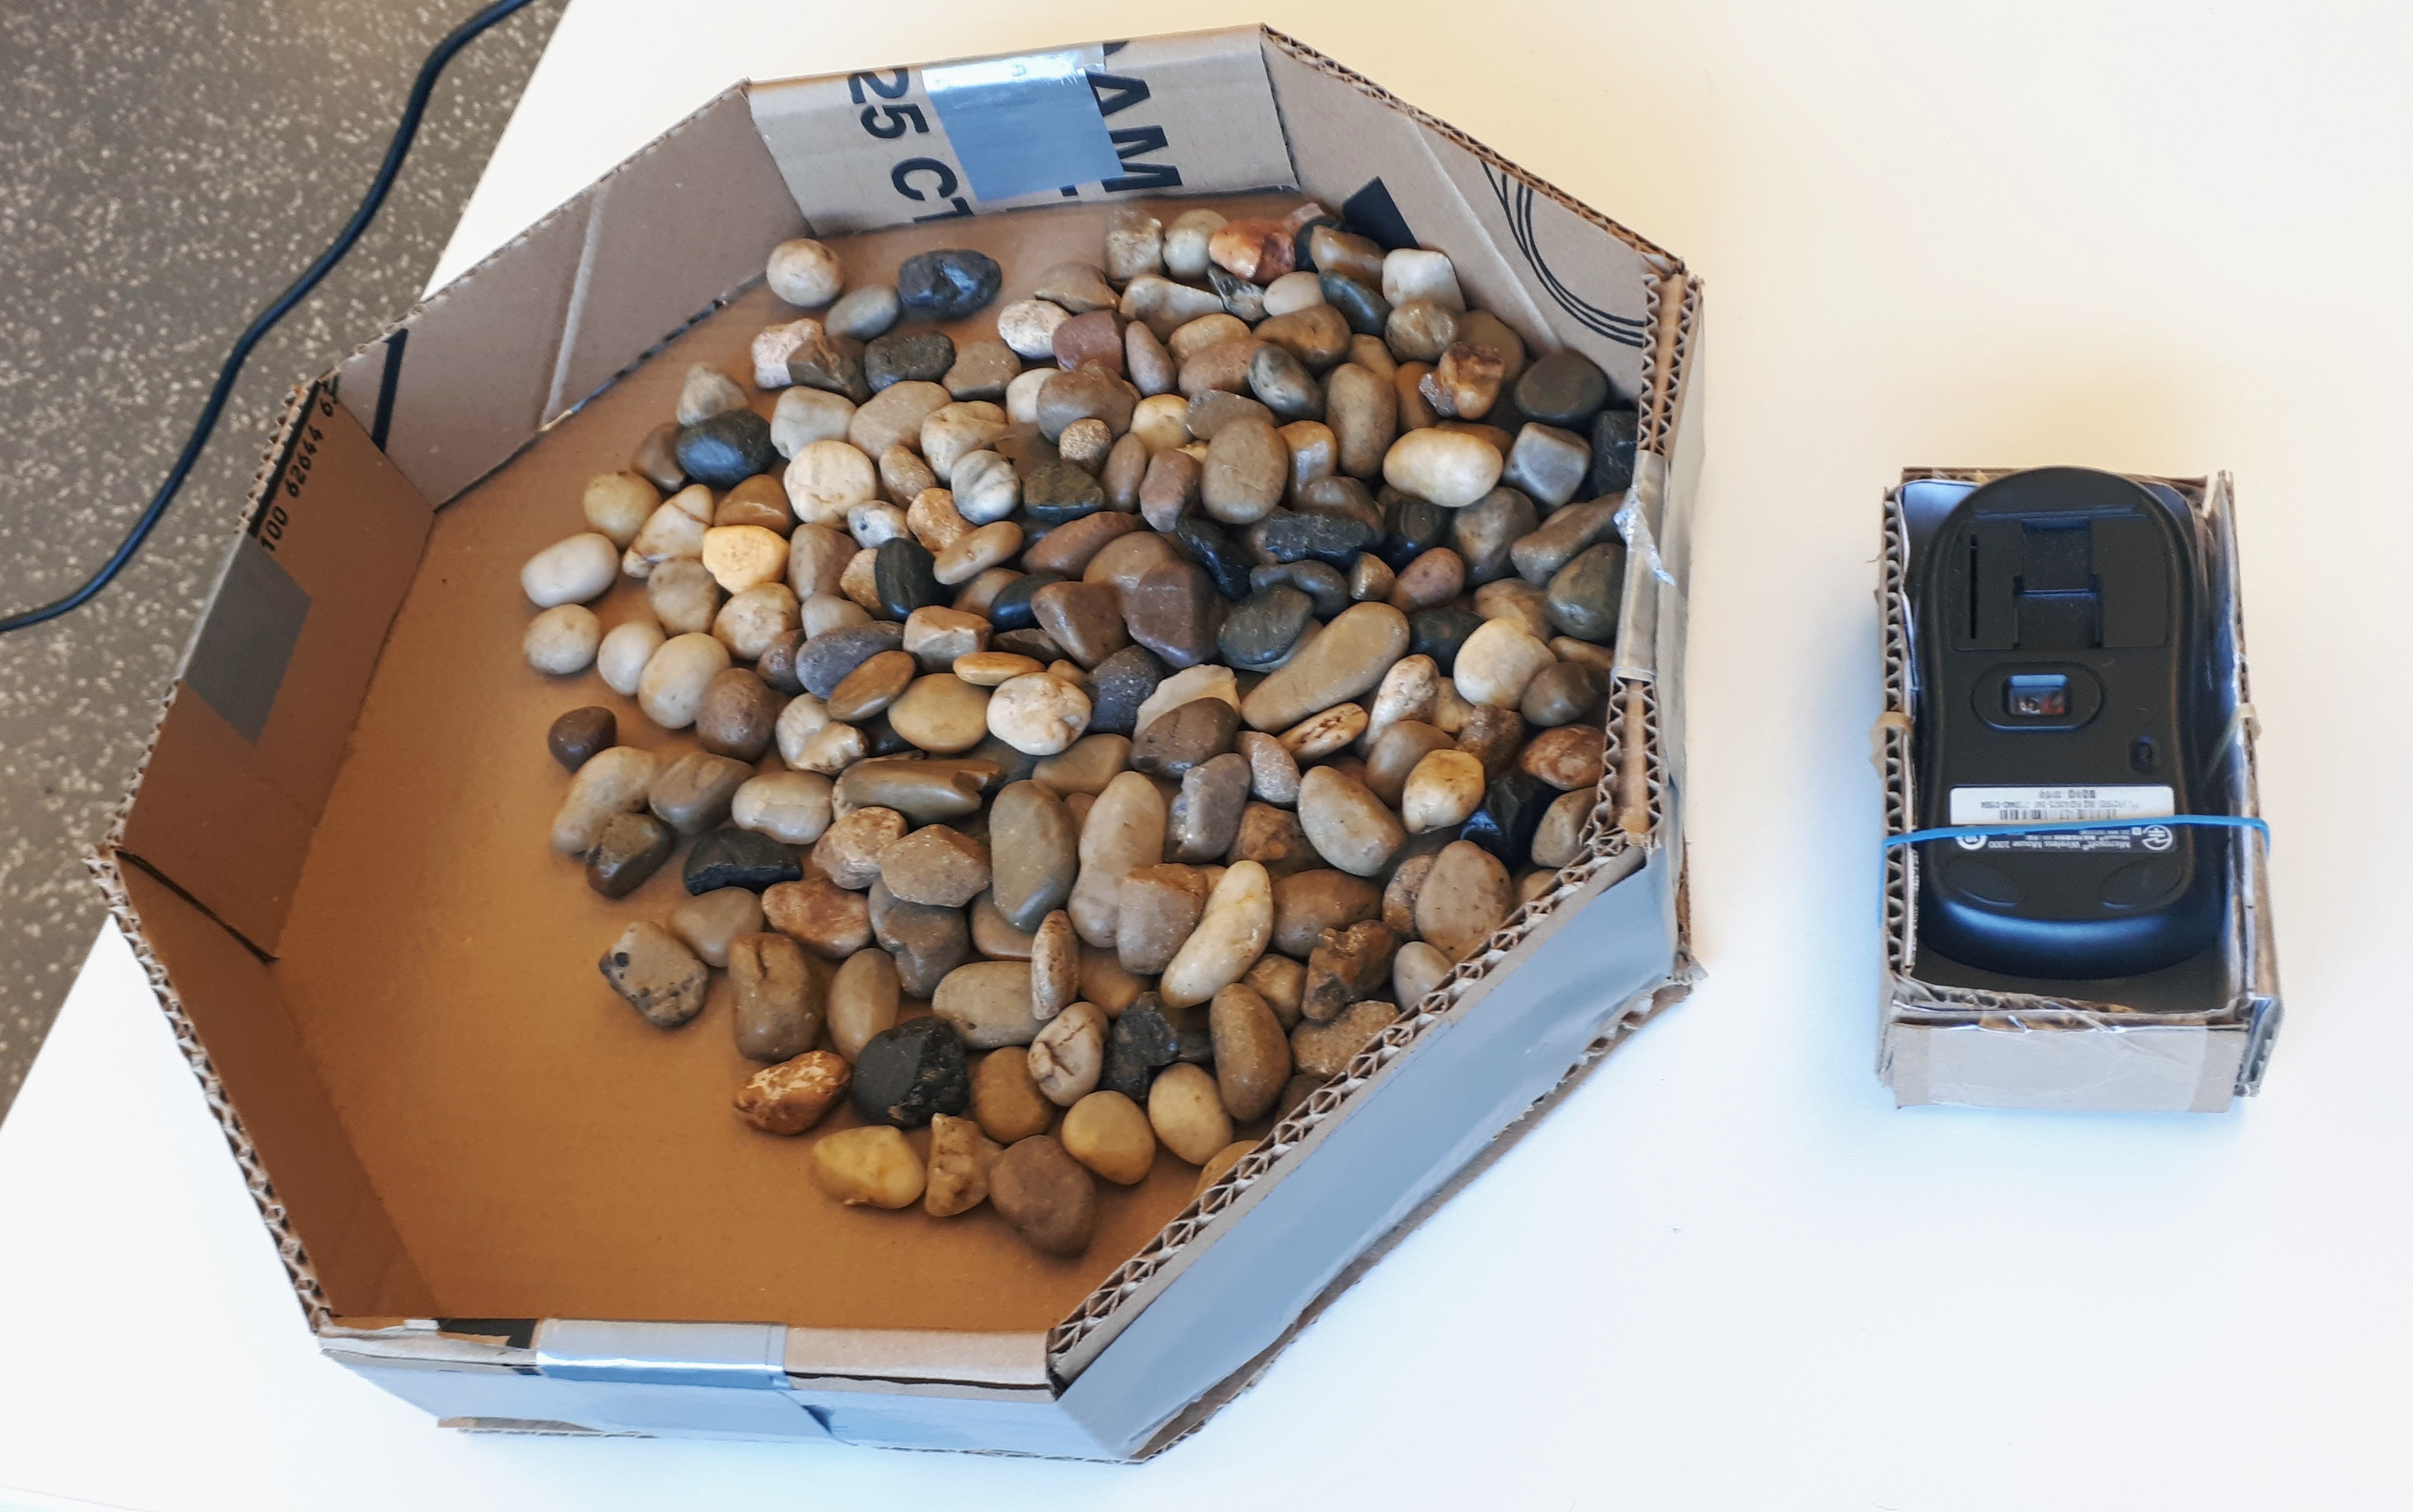
This controller has two main components: a base box where the computer mouse is held and the mining sieve which the player uses to move the cursor and click.
You will need a printer for printing out the cut-and-fold diagrams or you can just use them as reference.
The base box
We’ll start by building the base box, which should hold the computer mouse with its sensor facing up. You can repurpose any box with an appropriate size or you can use the cut-and-fold diagram. The mouse should be slightly raised above the box walls, so that the sensor is fully accessible.
Materials & equipment list
- 1x Computer mouse
- 1x Medium-sized piece of flat cardboard (at least the size of 2 letter sized pages)
- Duct tape
- Rubber bands
- Box-cutter or scissors
- Wooden stick or dowel
Instructions
Below are the steps if you’re making your own box. If you’re repurposing a box, you can skip to step #6.
Print the base box diagram and glue it to the flat cardboard.
Cut the solid lines, including the inside slots marked with a star.
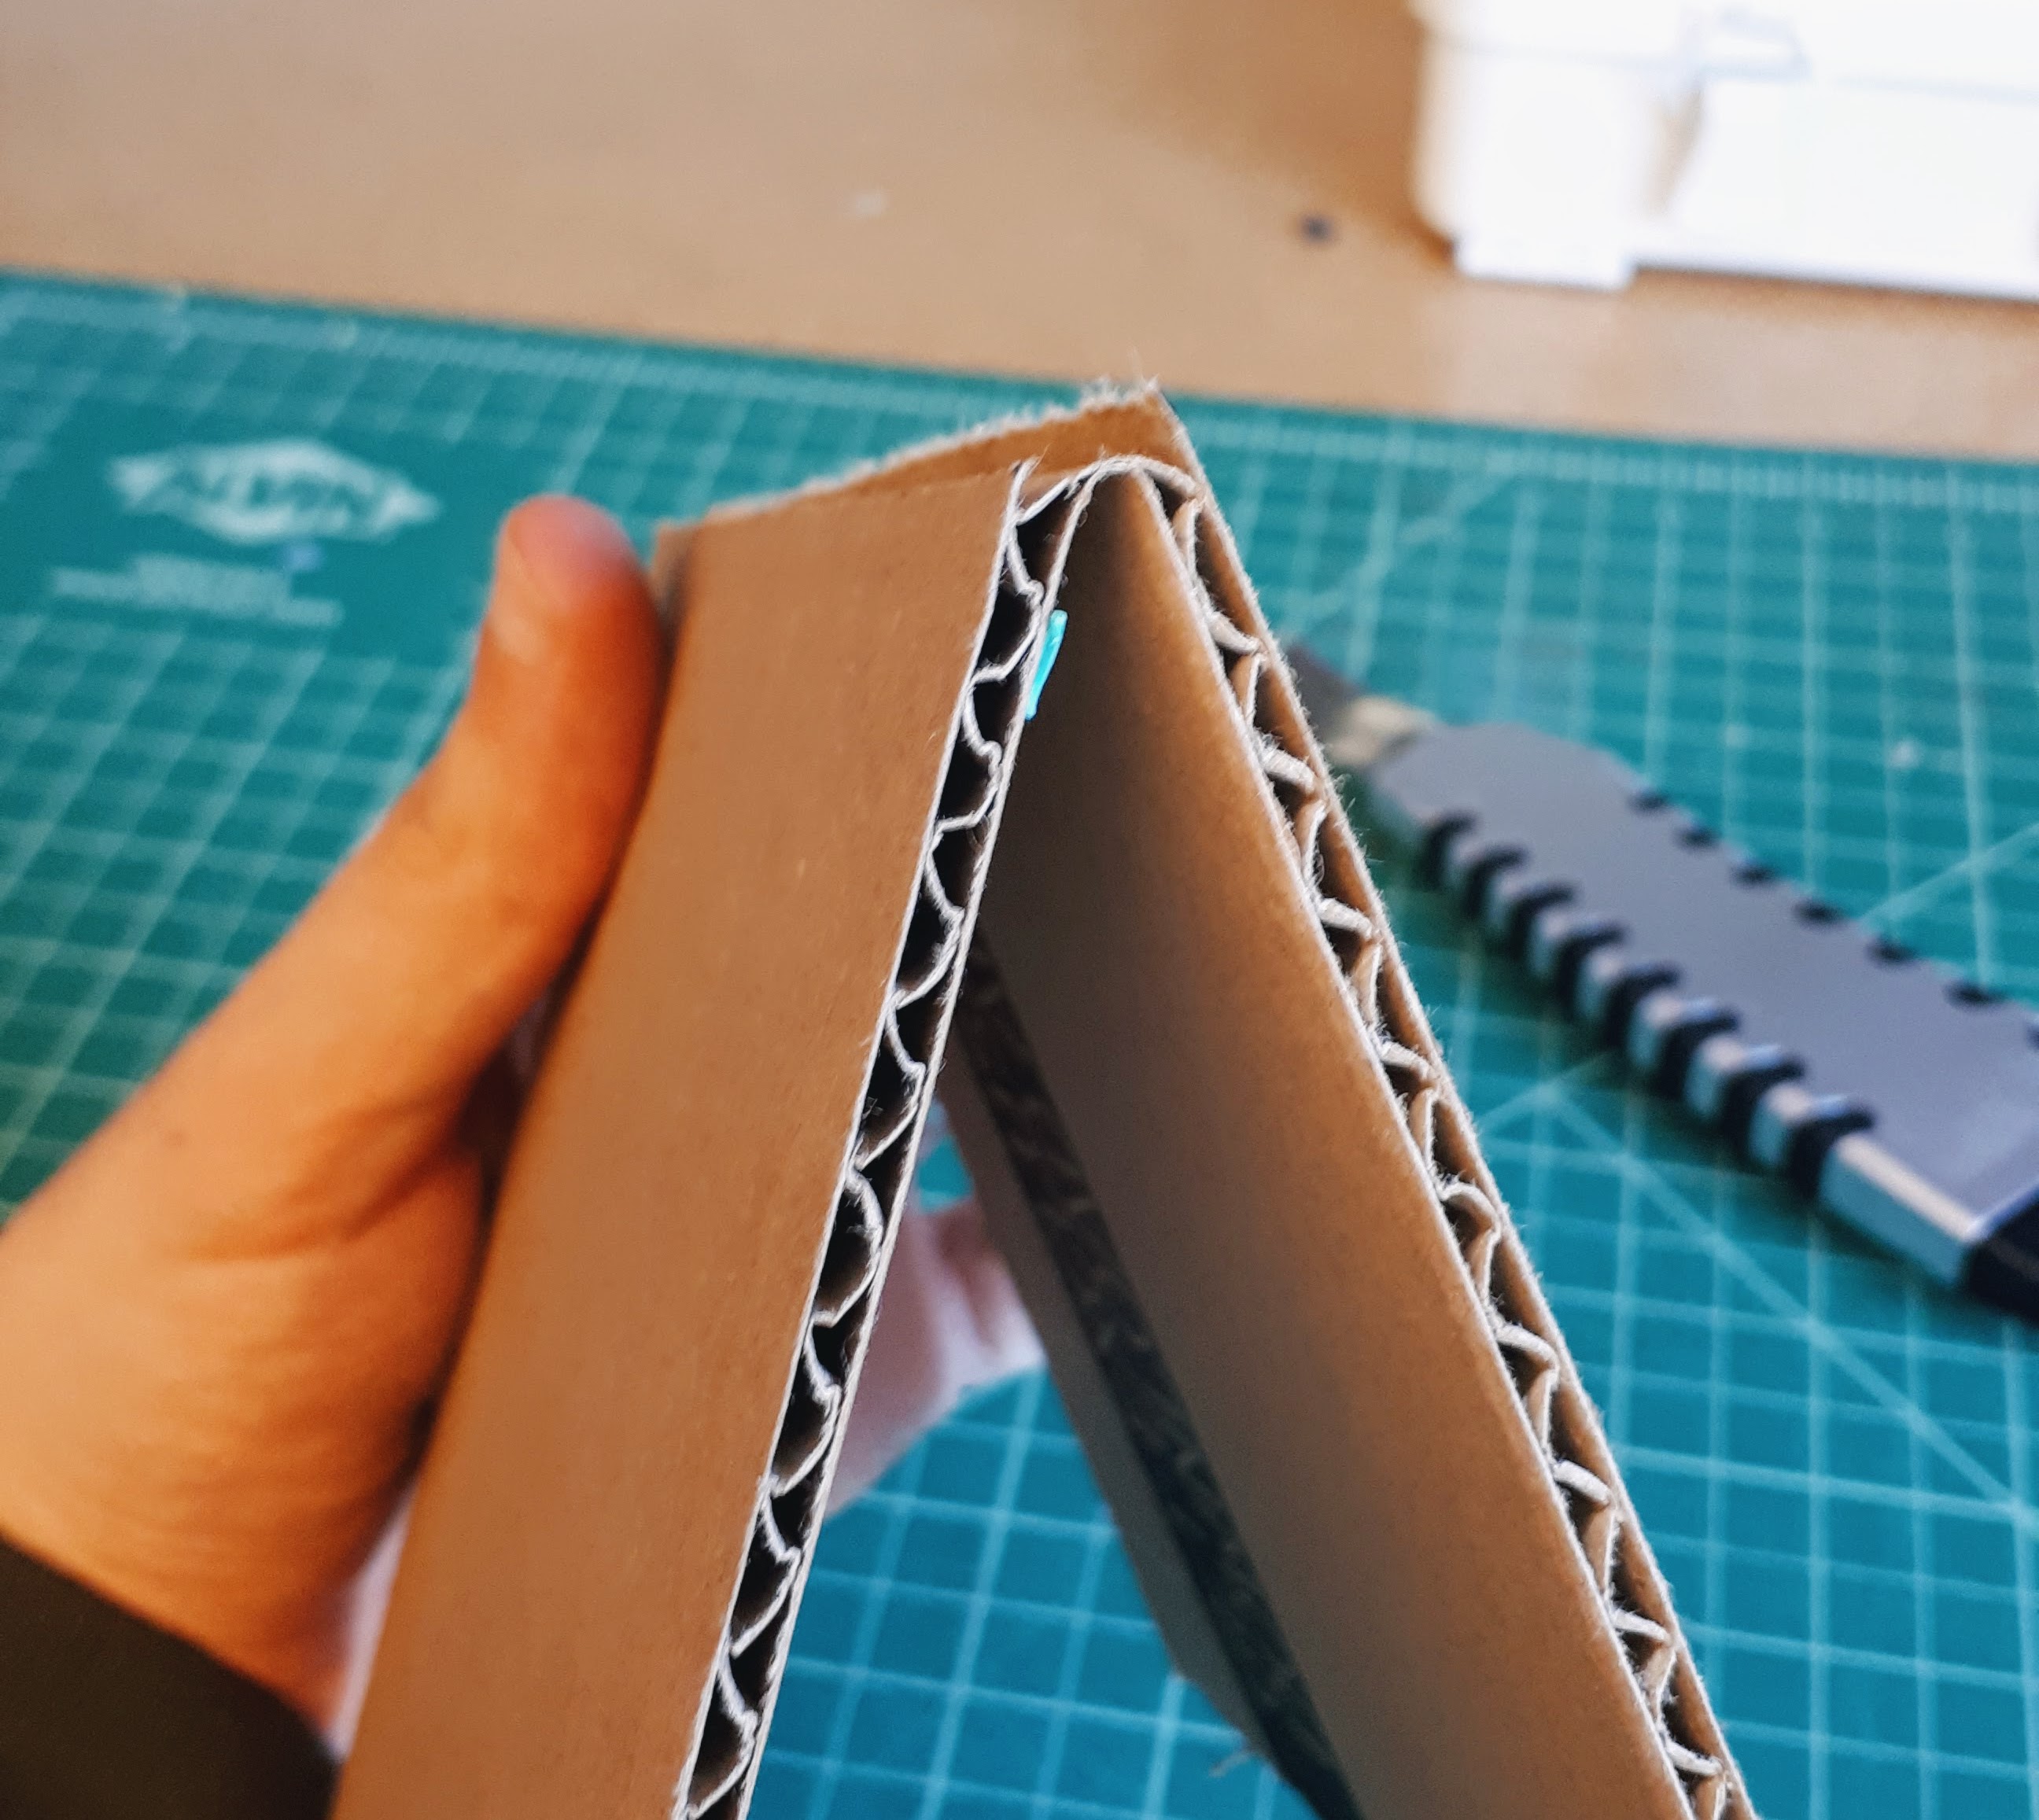
Score the fold lines on the opposite side of the cardboard. Lightly use the box-cutter to cut the top-layer of the marked line without going all the way through the cardboard.

Fold the different parts and introduce the lips in the slots to fix them together.
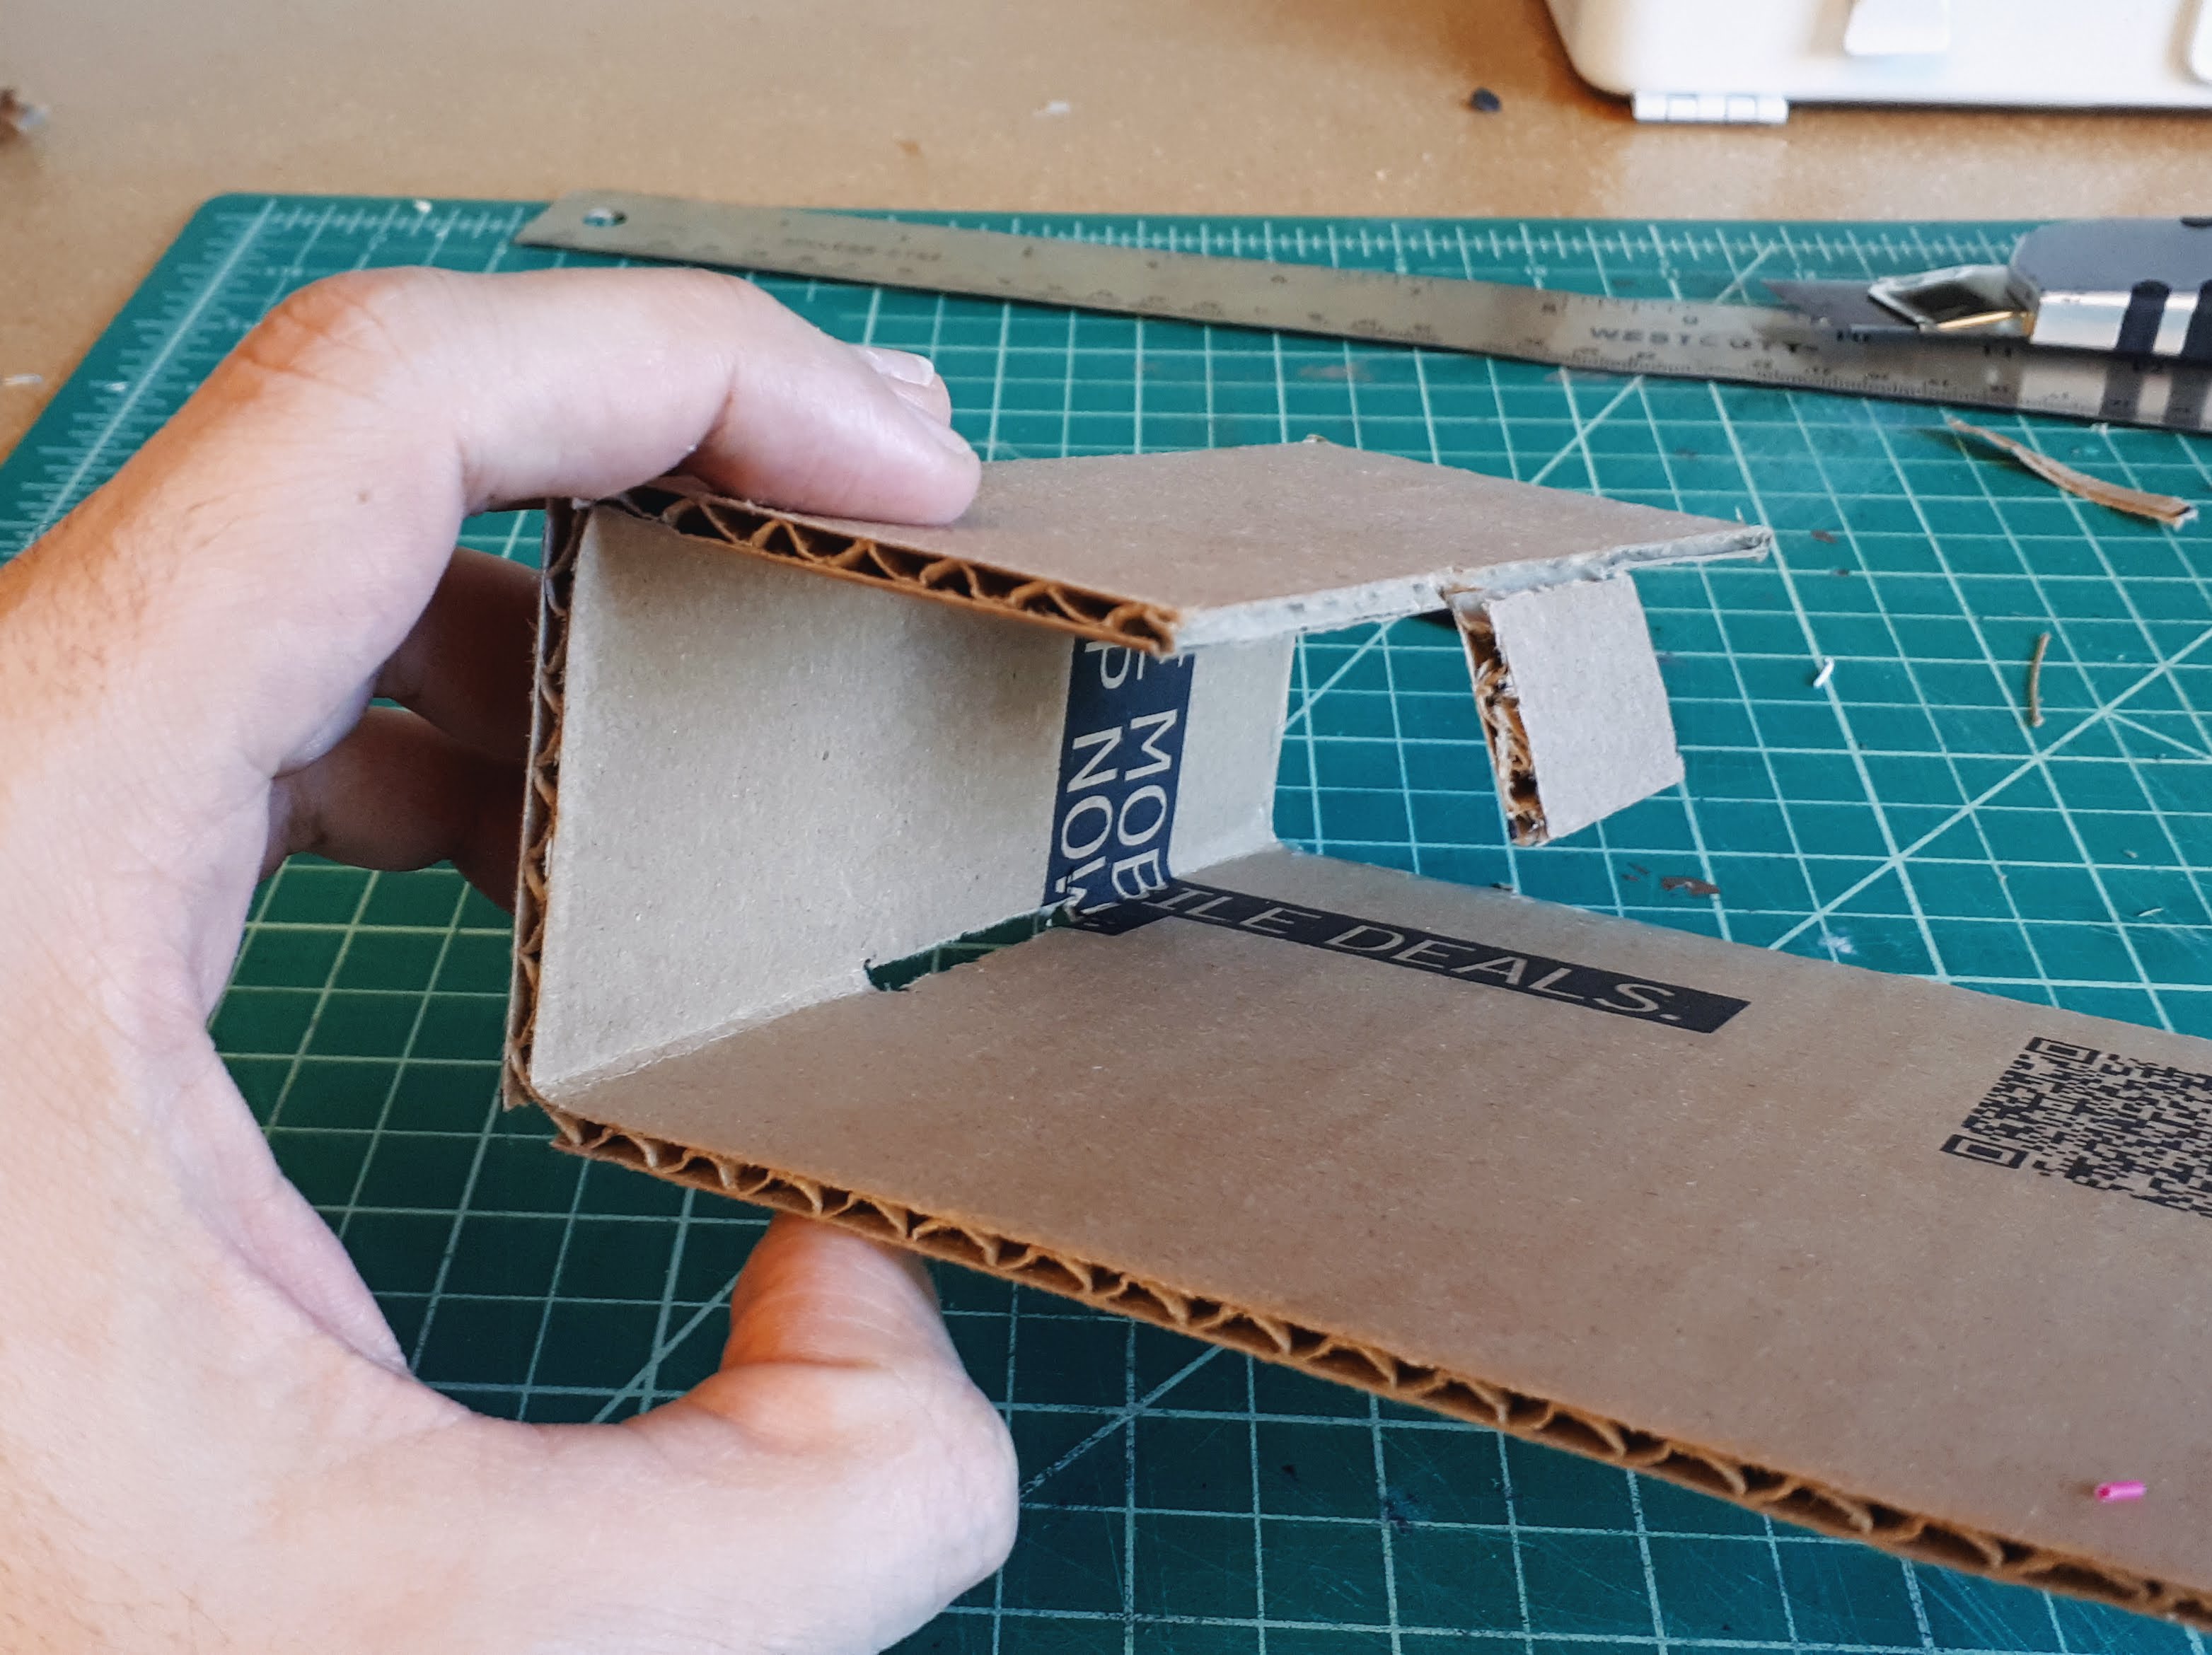
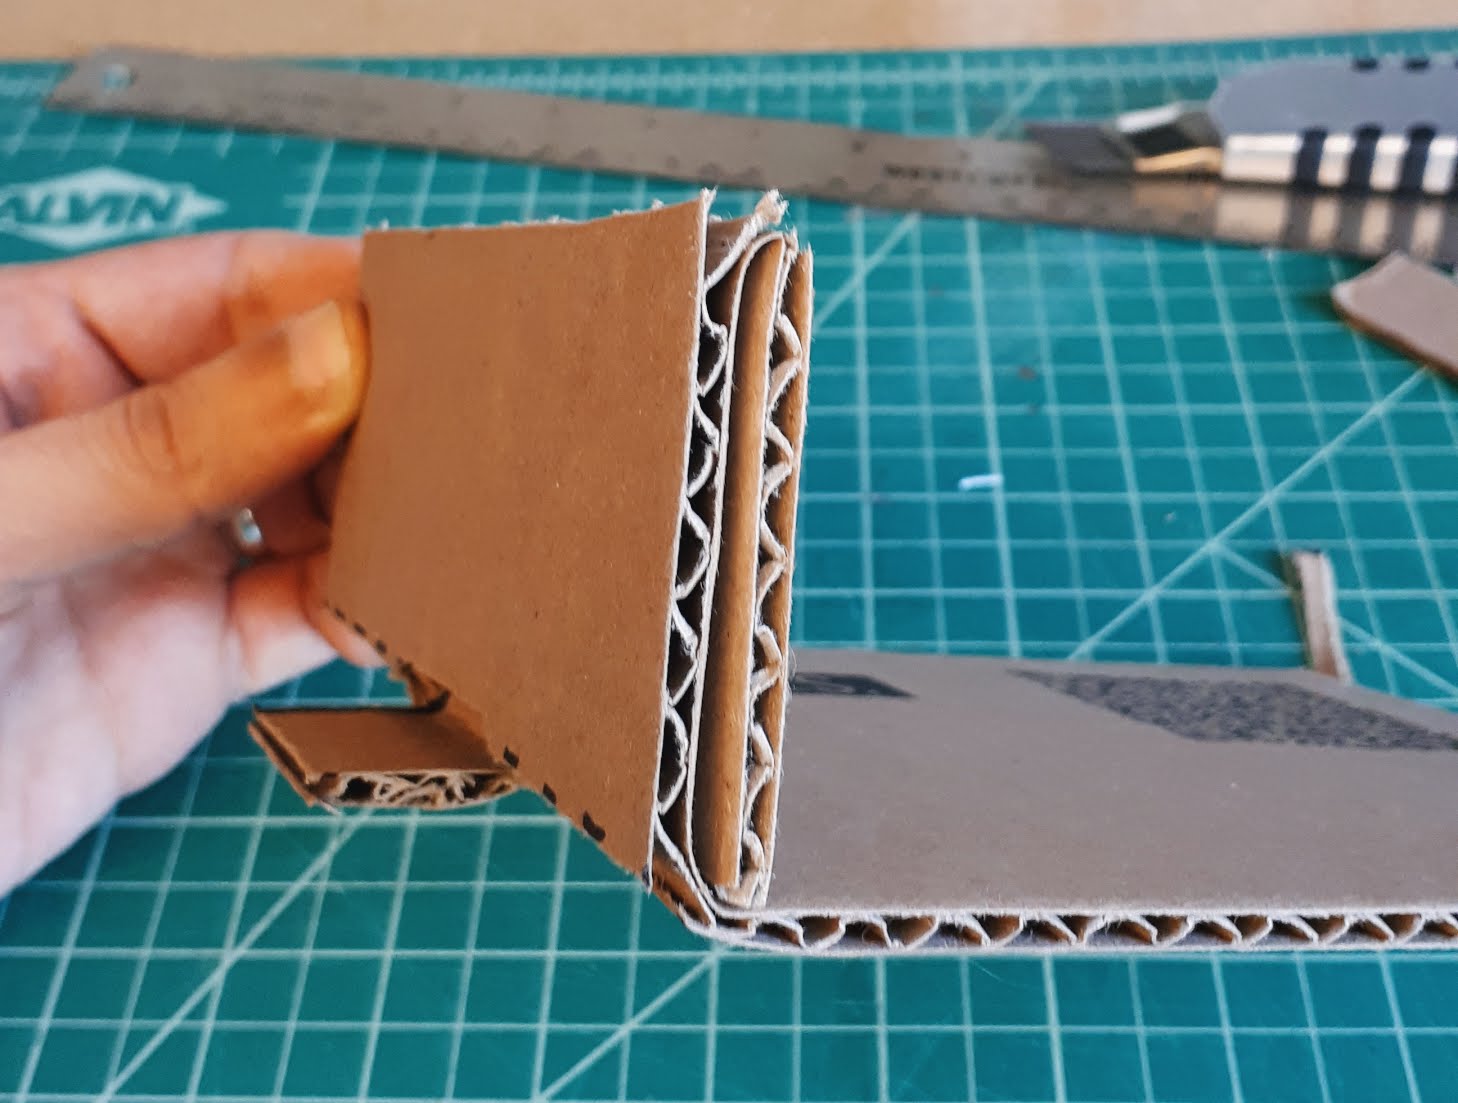
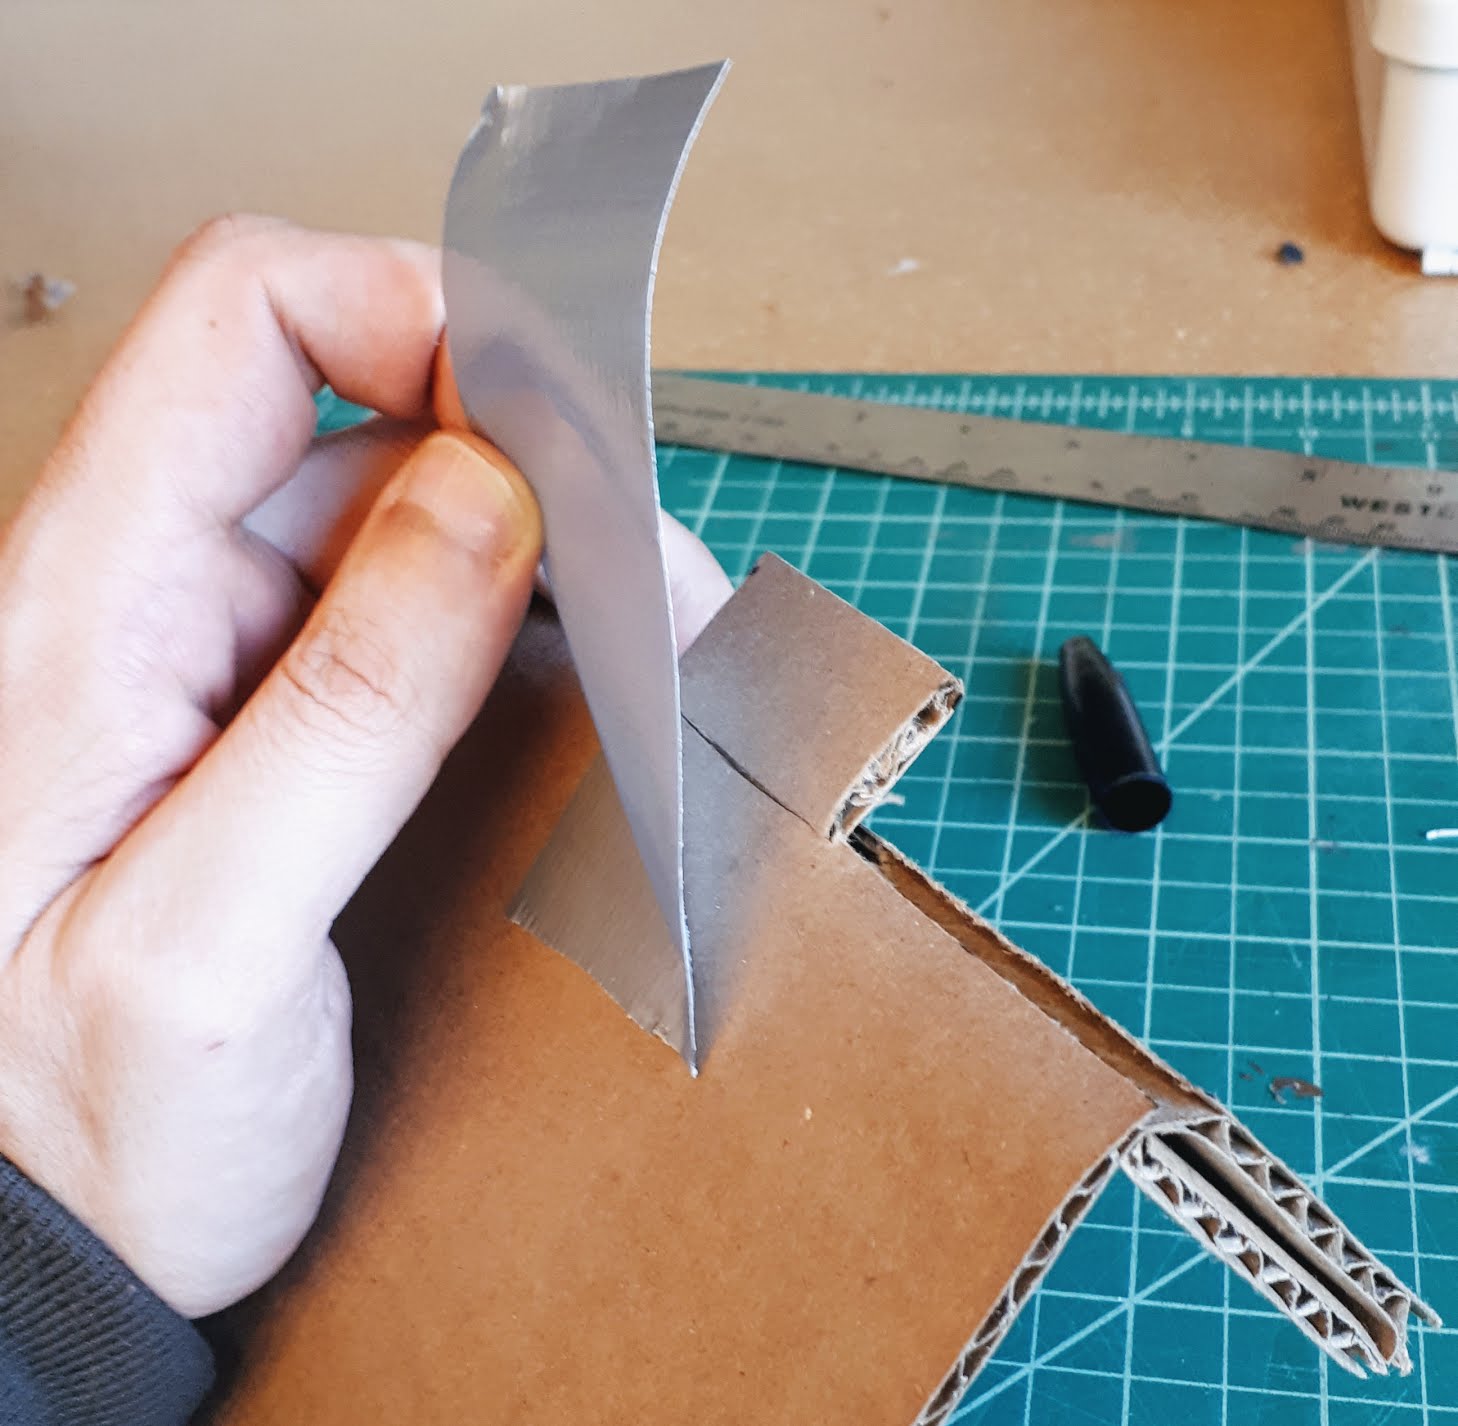
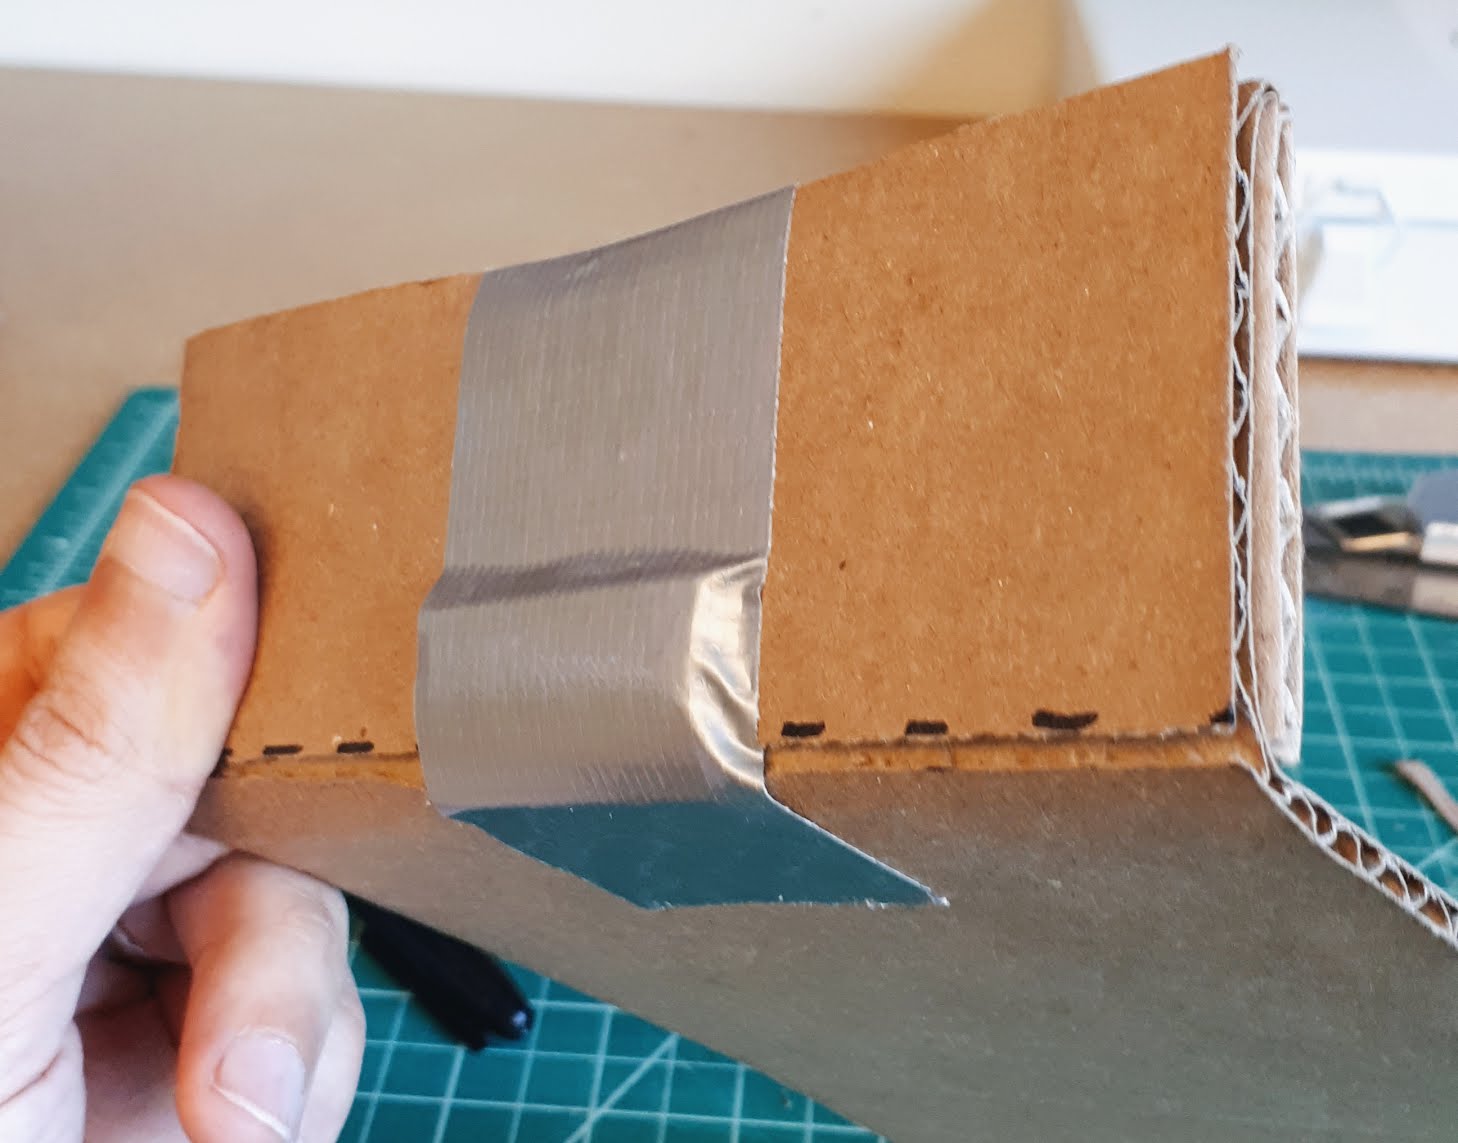
Use the duct tape to fix the lips to the bottom and sides of the box. We have a box!
Now that we have a basic box, we can prepare it for the computer mouse. The following instructions apply to both repurposed and built boxes.
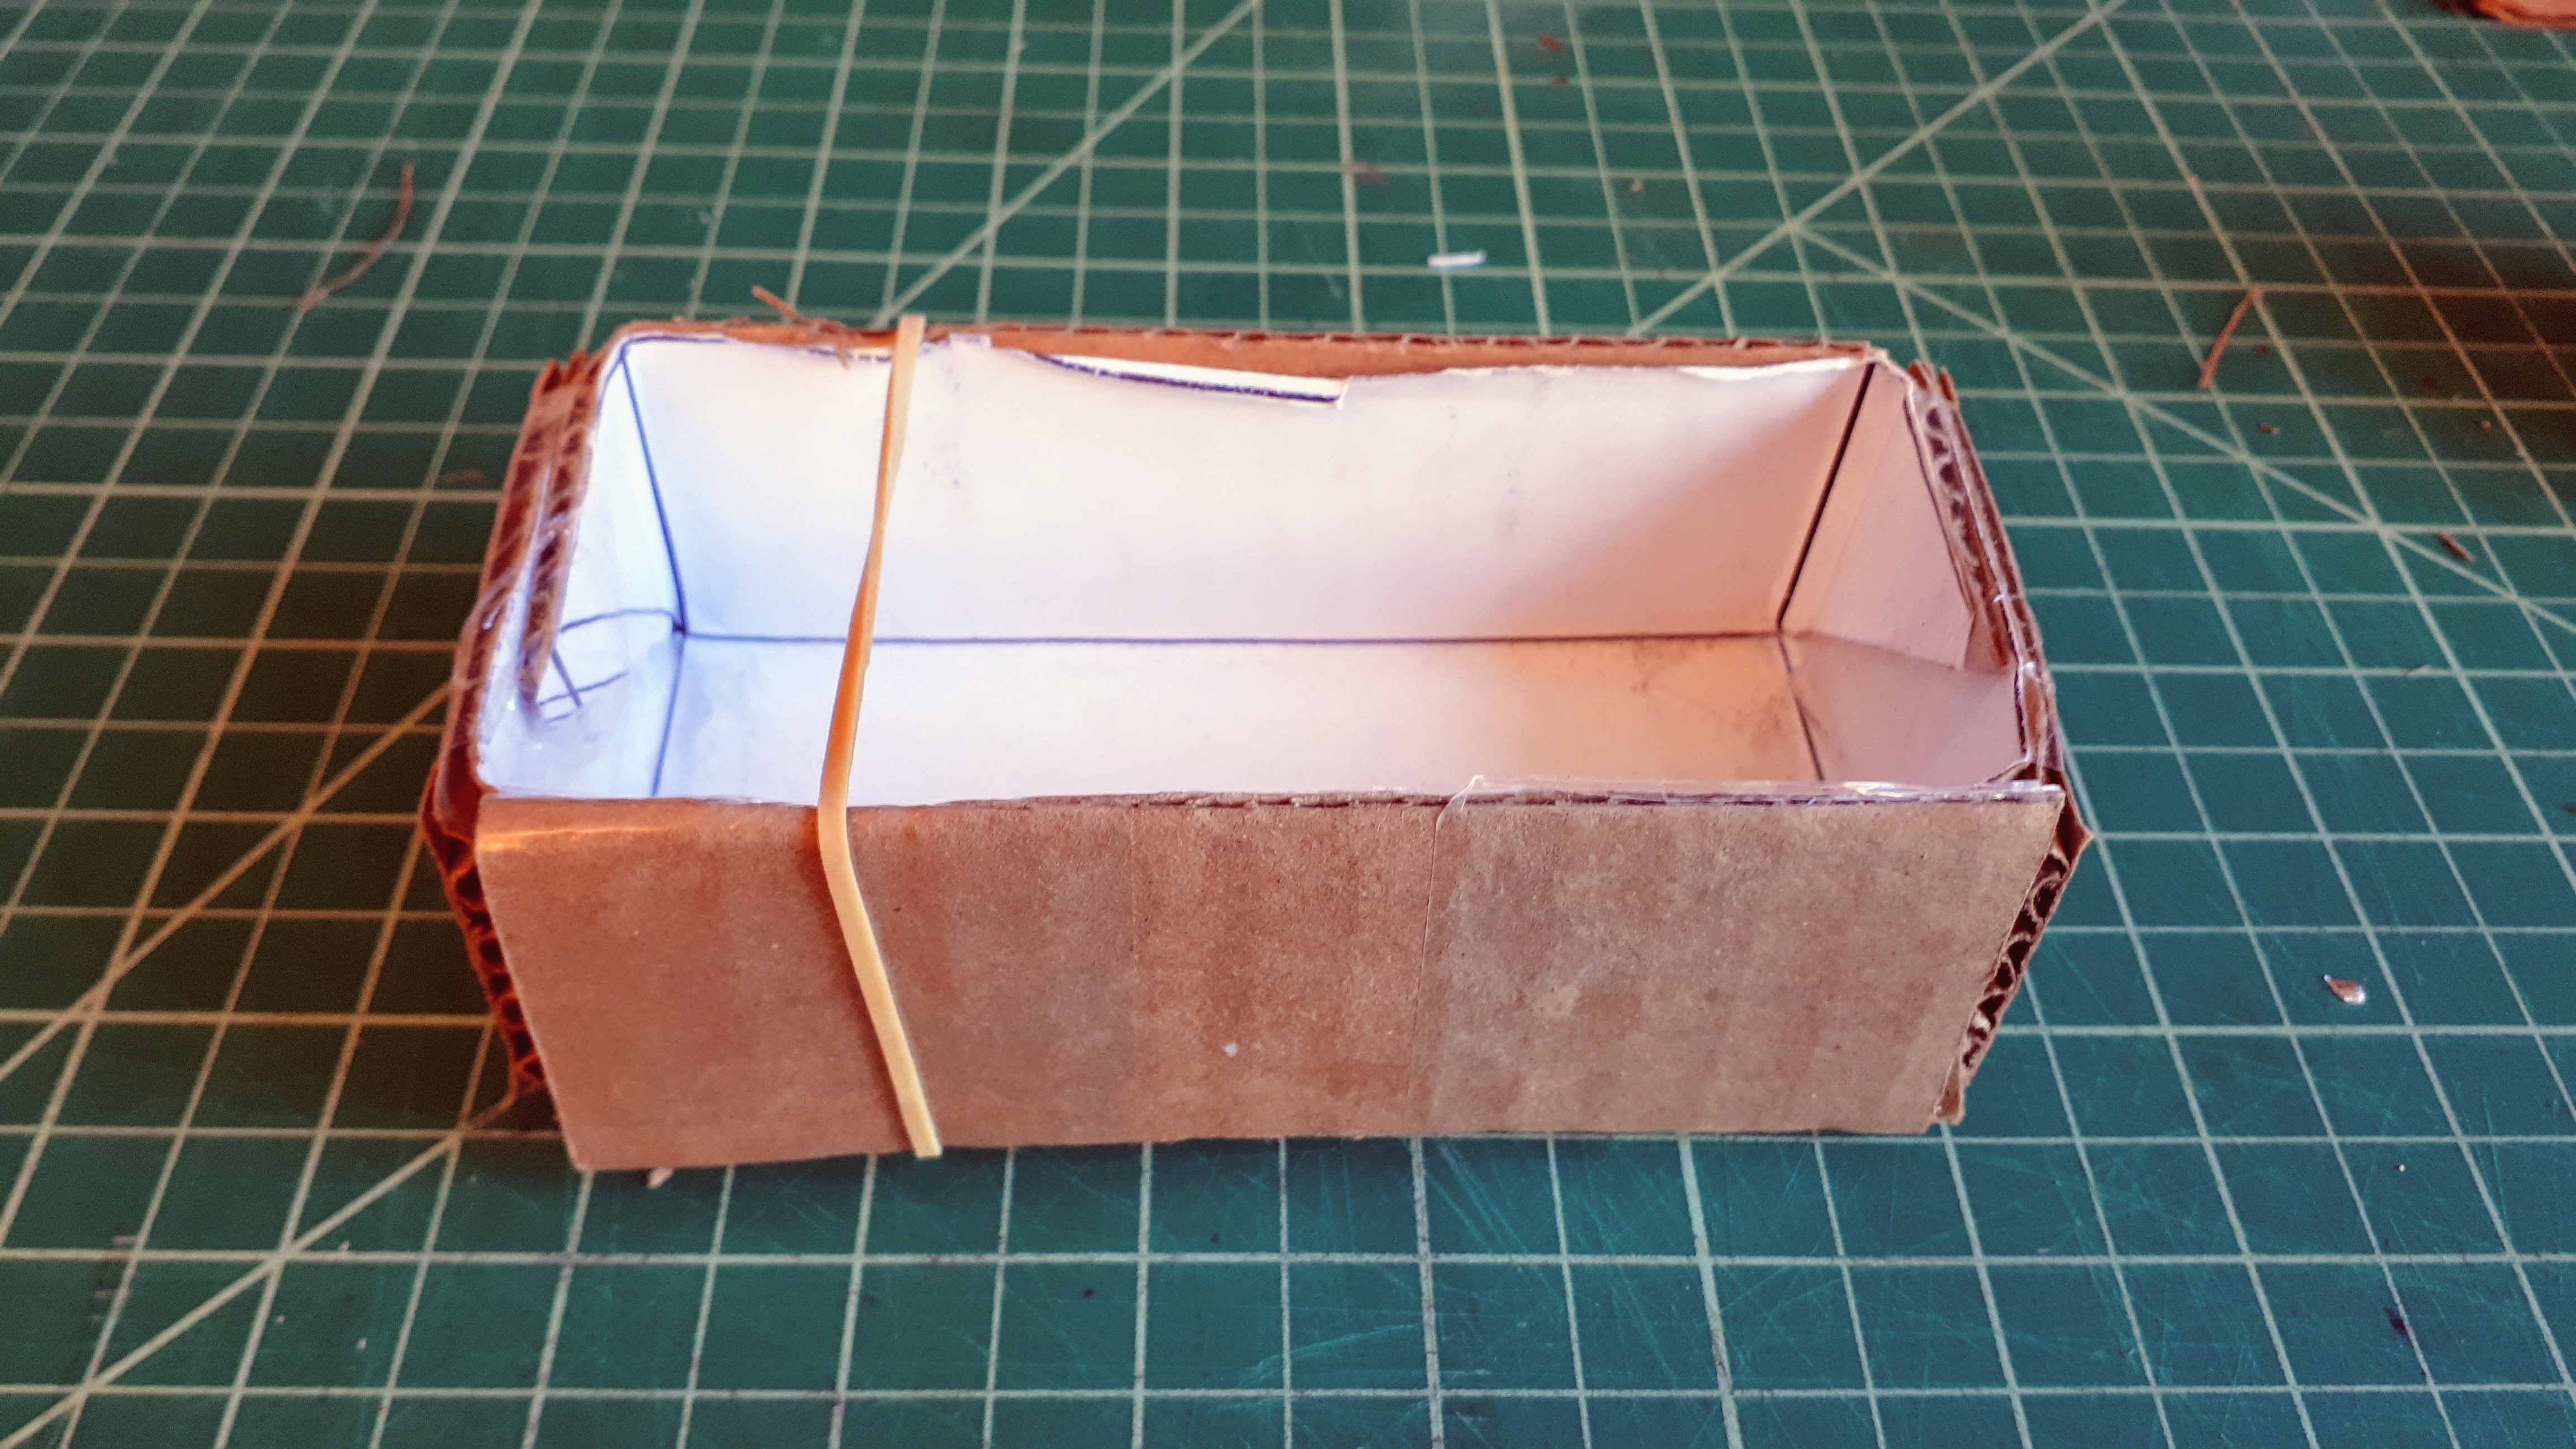
Place a rubber bands across the box, which will be used to hold the mouse closer to the box top and give the click a springy feel. Something like this:
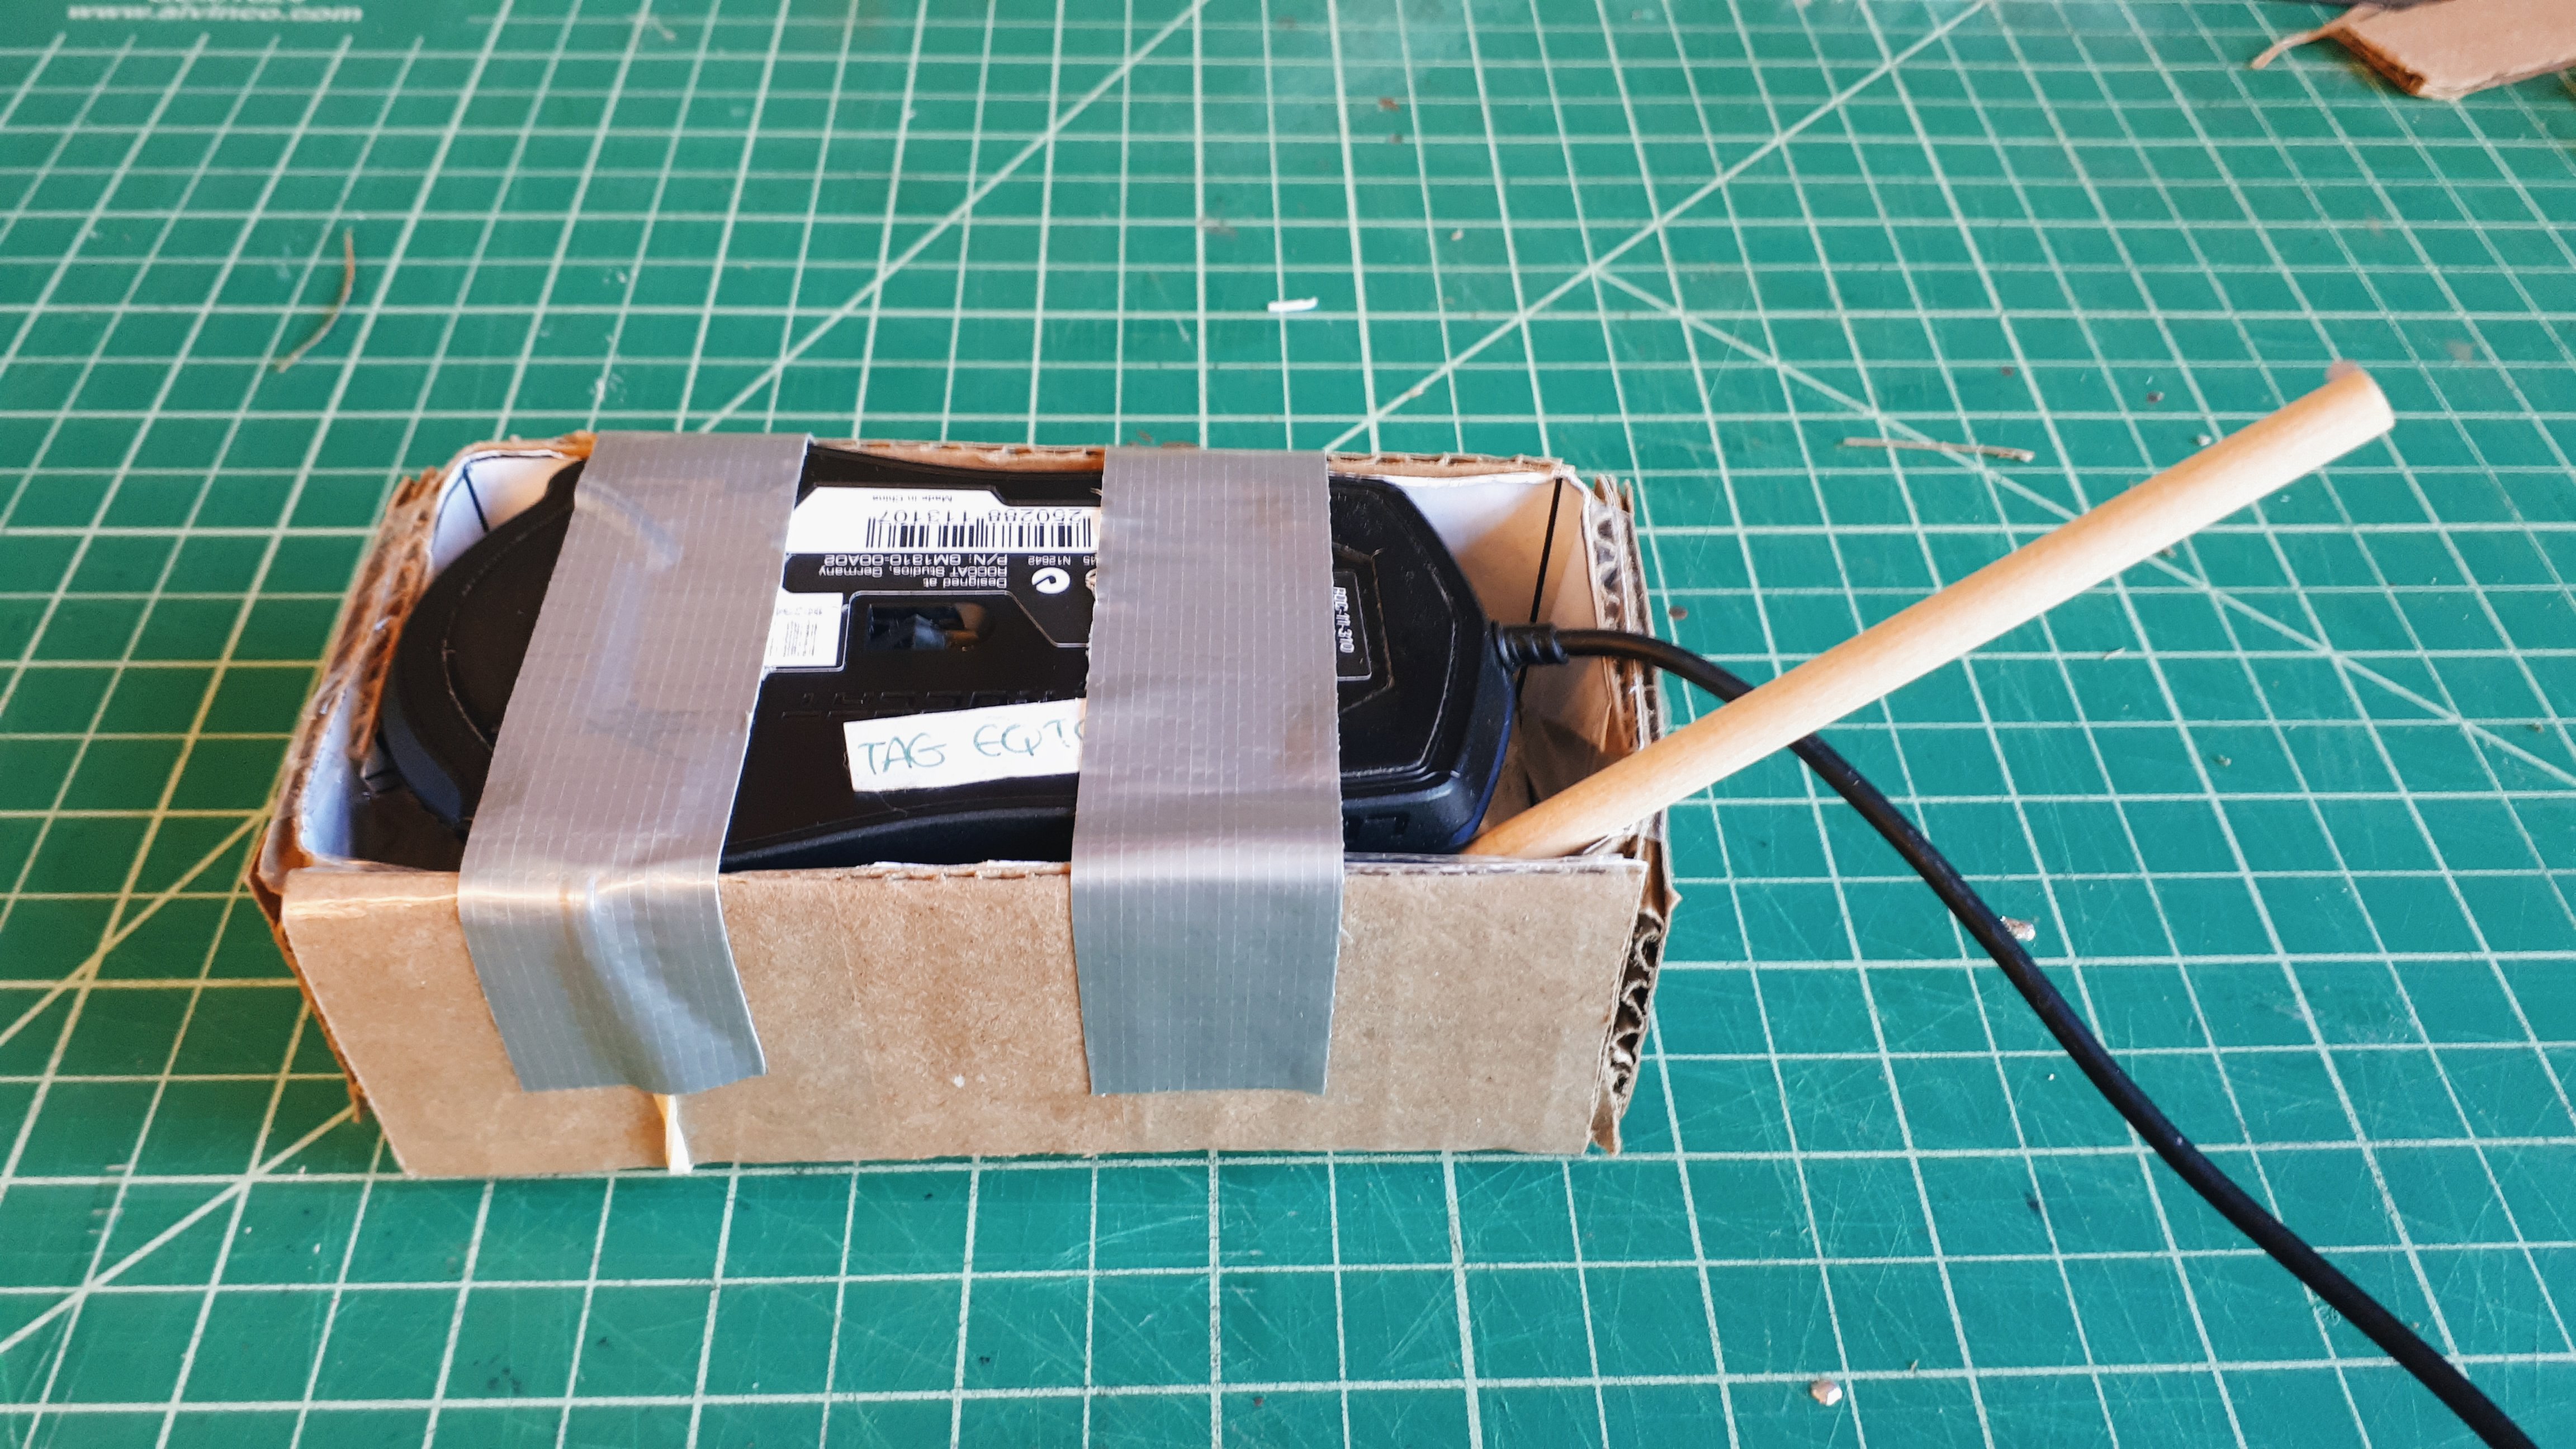
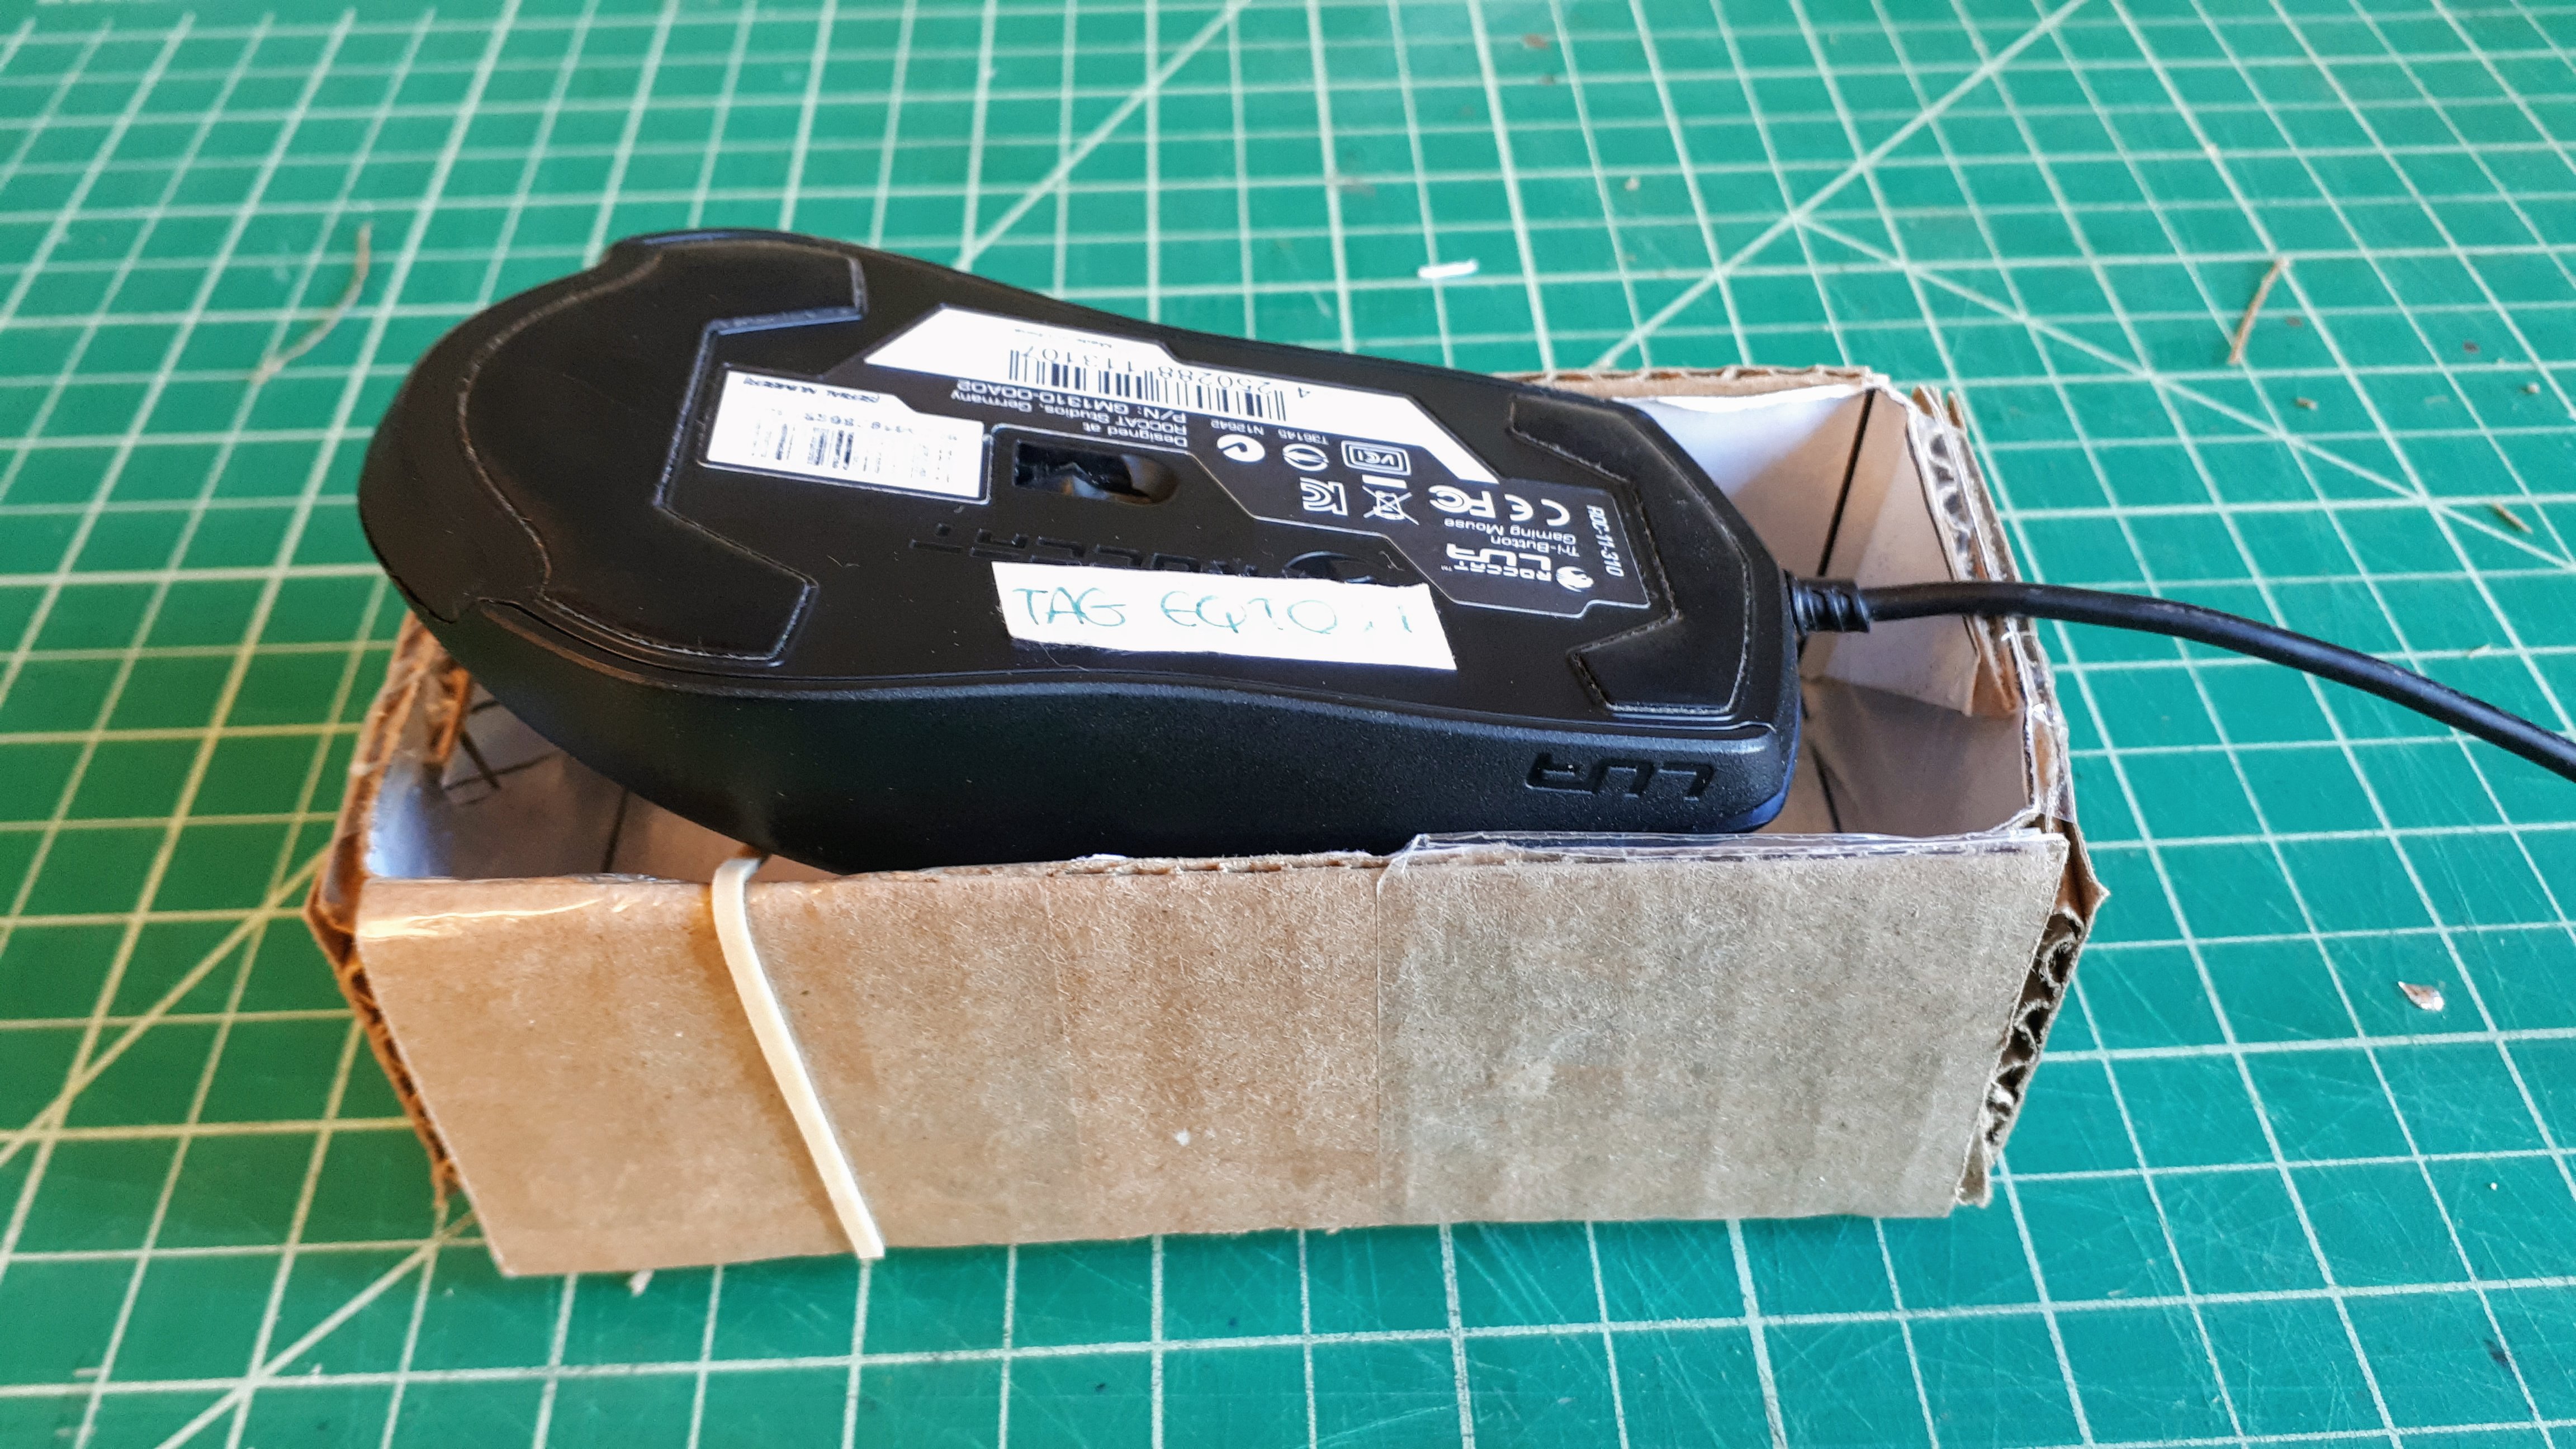
Place the mouse over the rubber bands and press it down. Use a duct tape strip to connect the mouse to the side of the boxes, taping over the rubber band. This will reduce friction and make for better use of the mouse sensor.
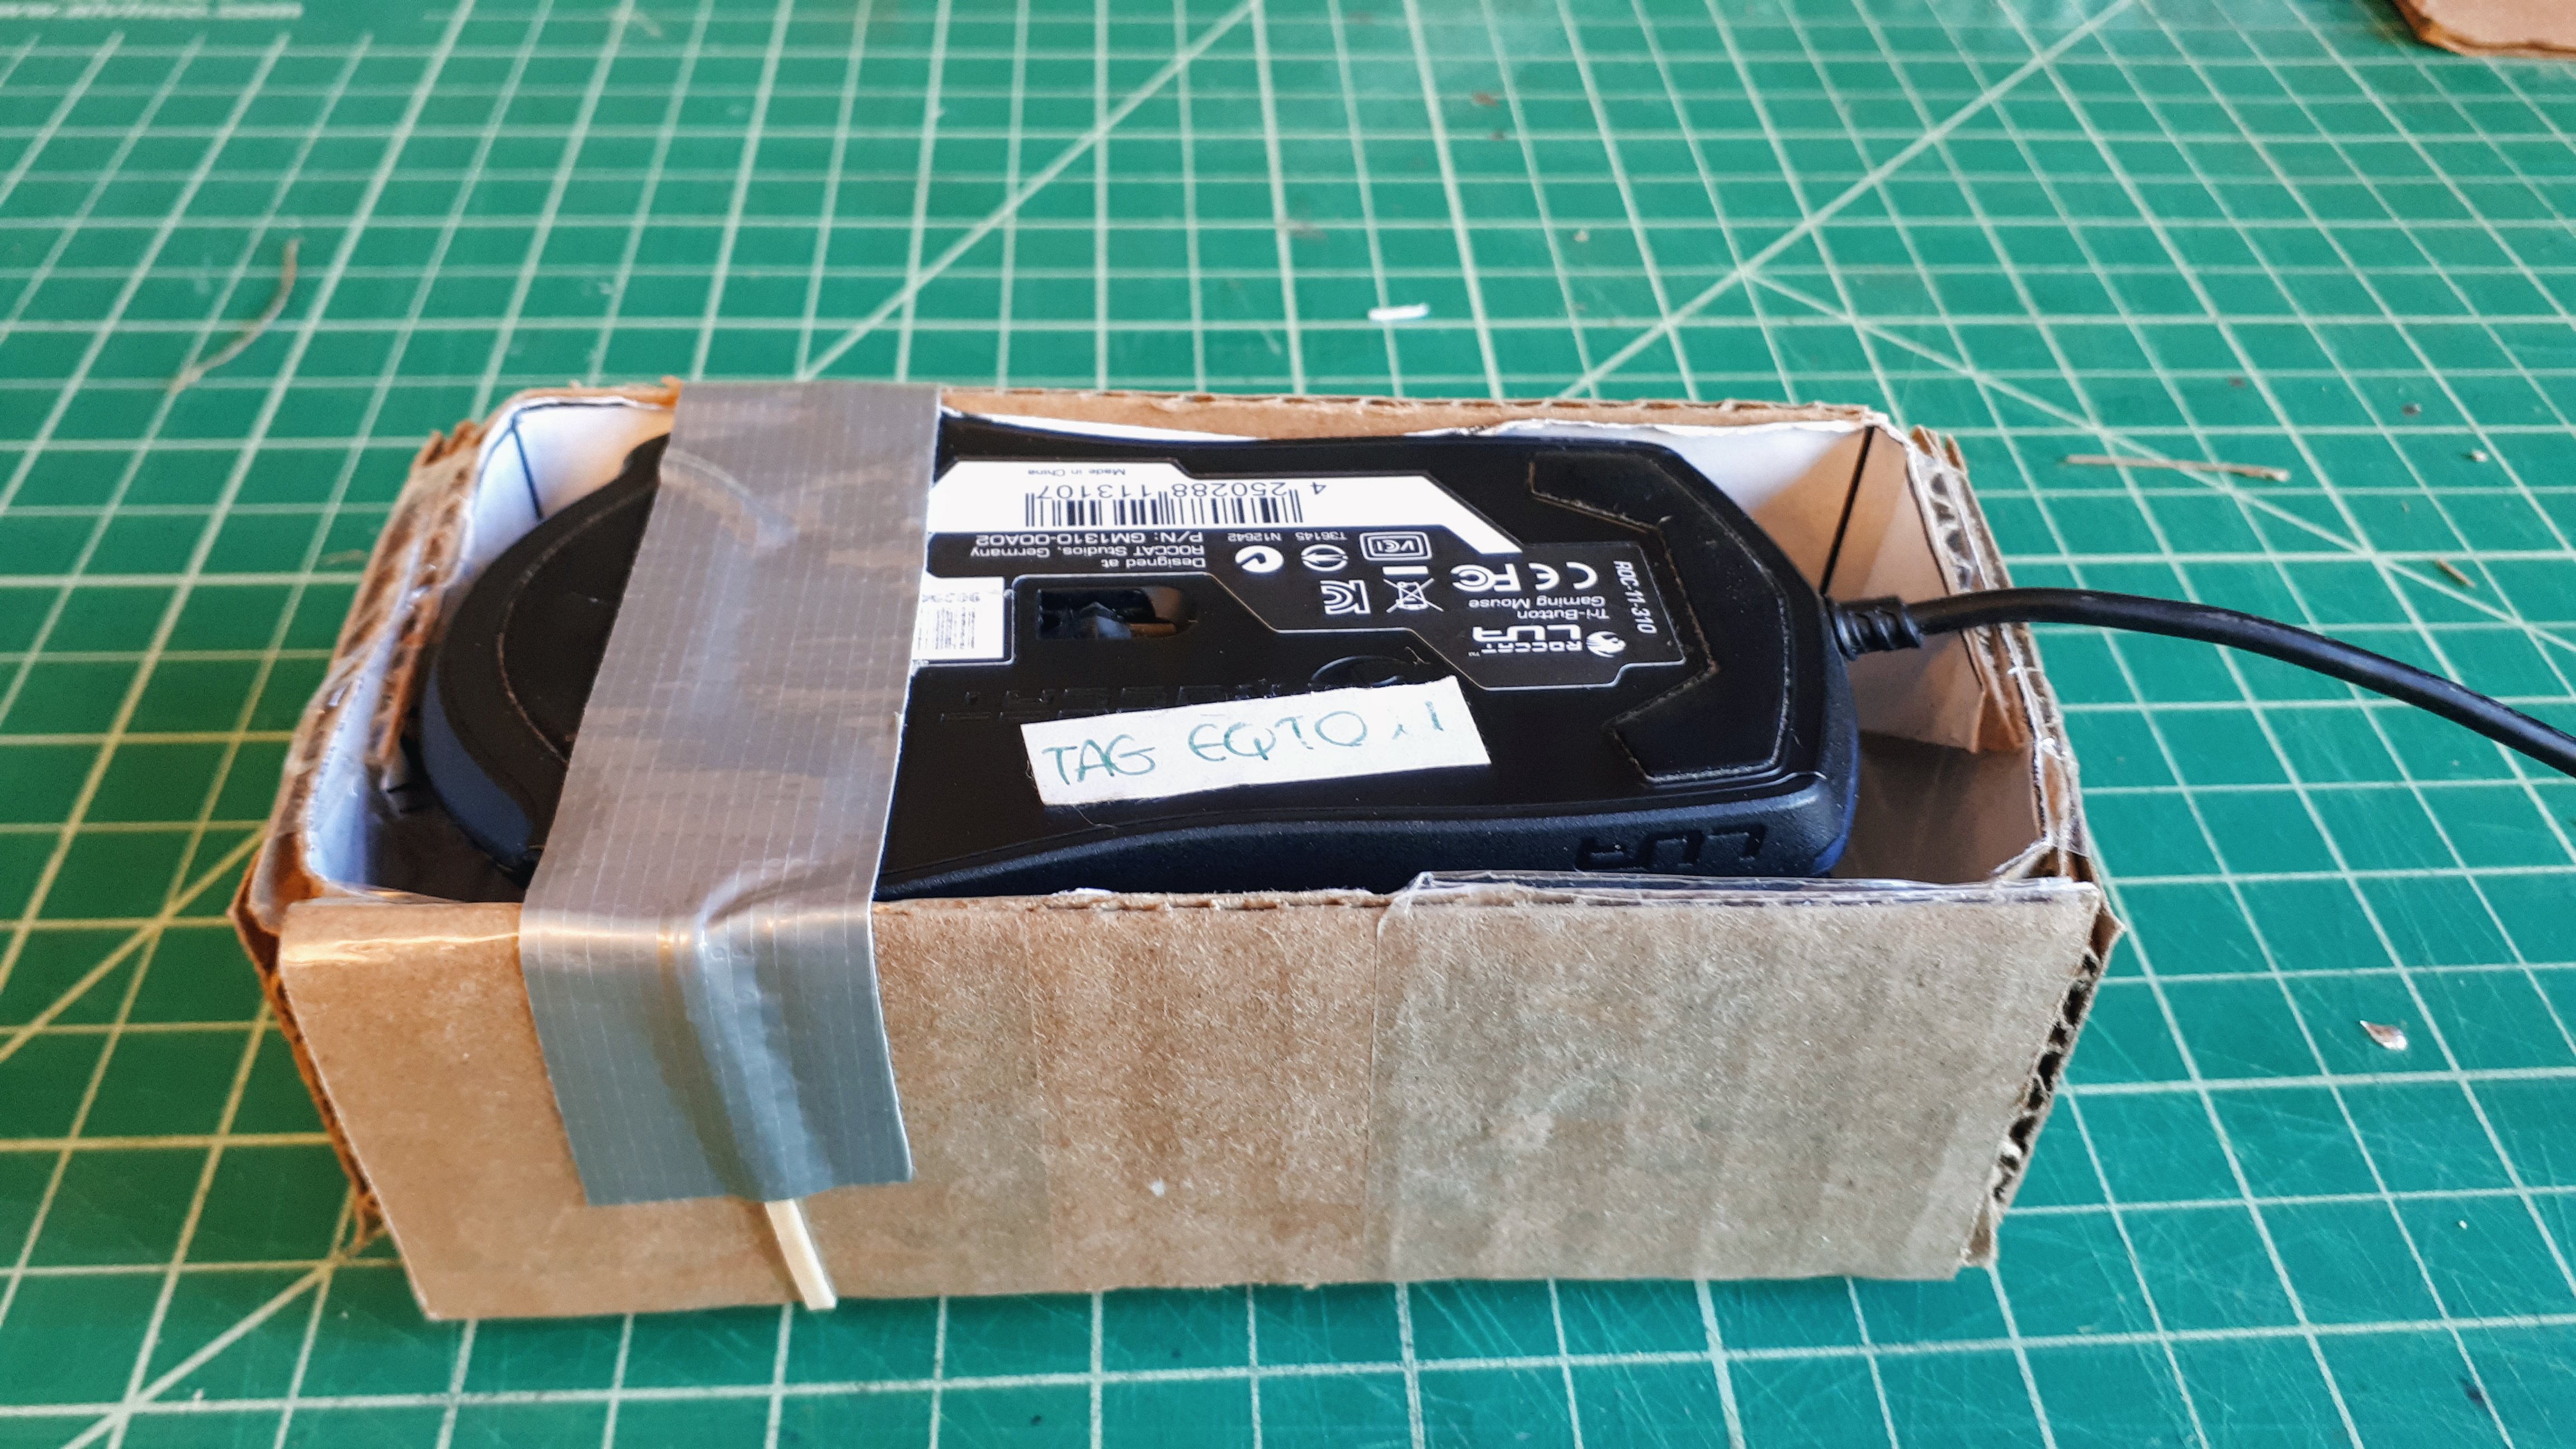
Use another duct tape strip to connect the mouse and the box walls. The mouse sensor should be parallel to the top of the box, so that the on-screen cursor will move when the sieve is dragged over the sensor.
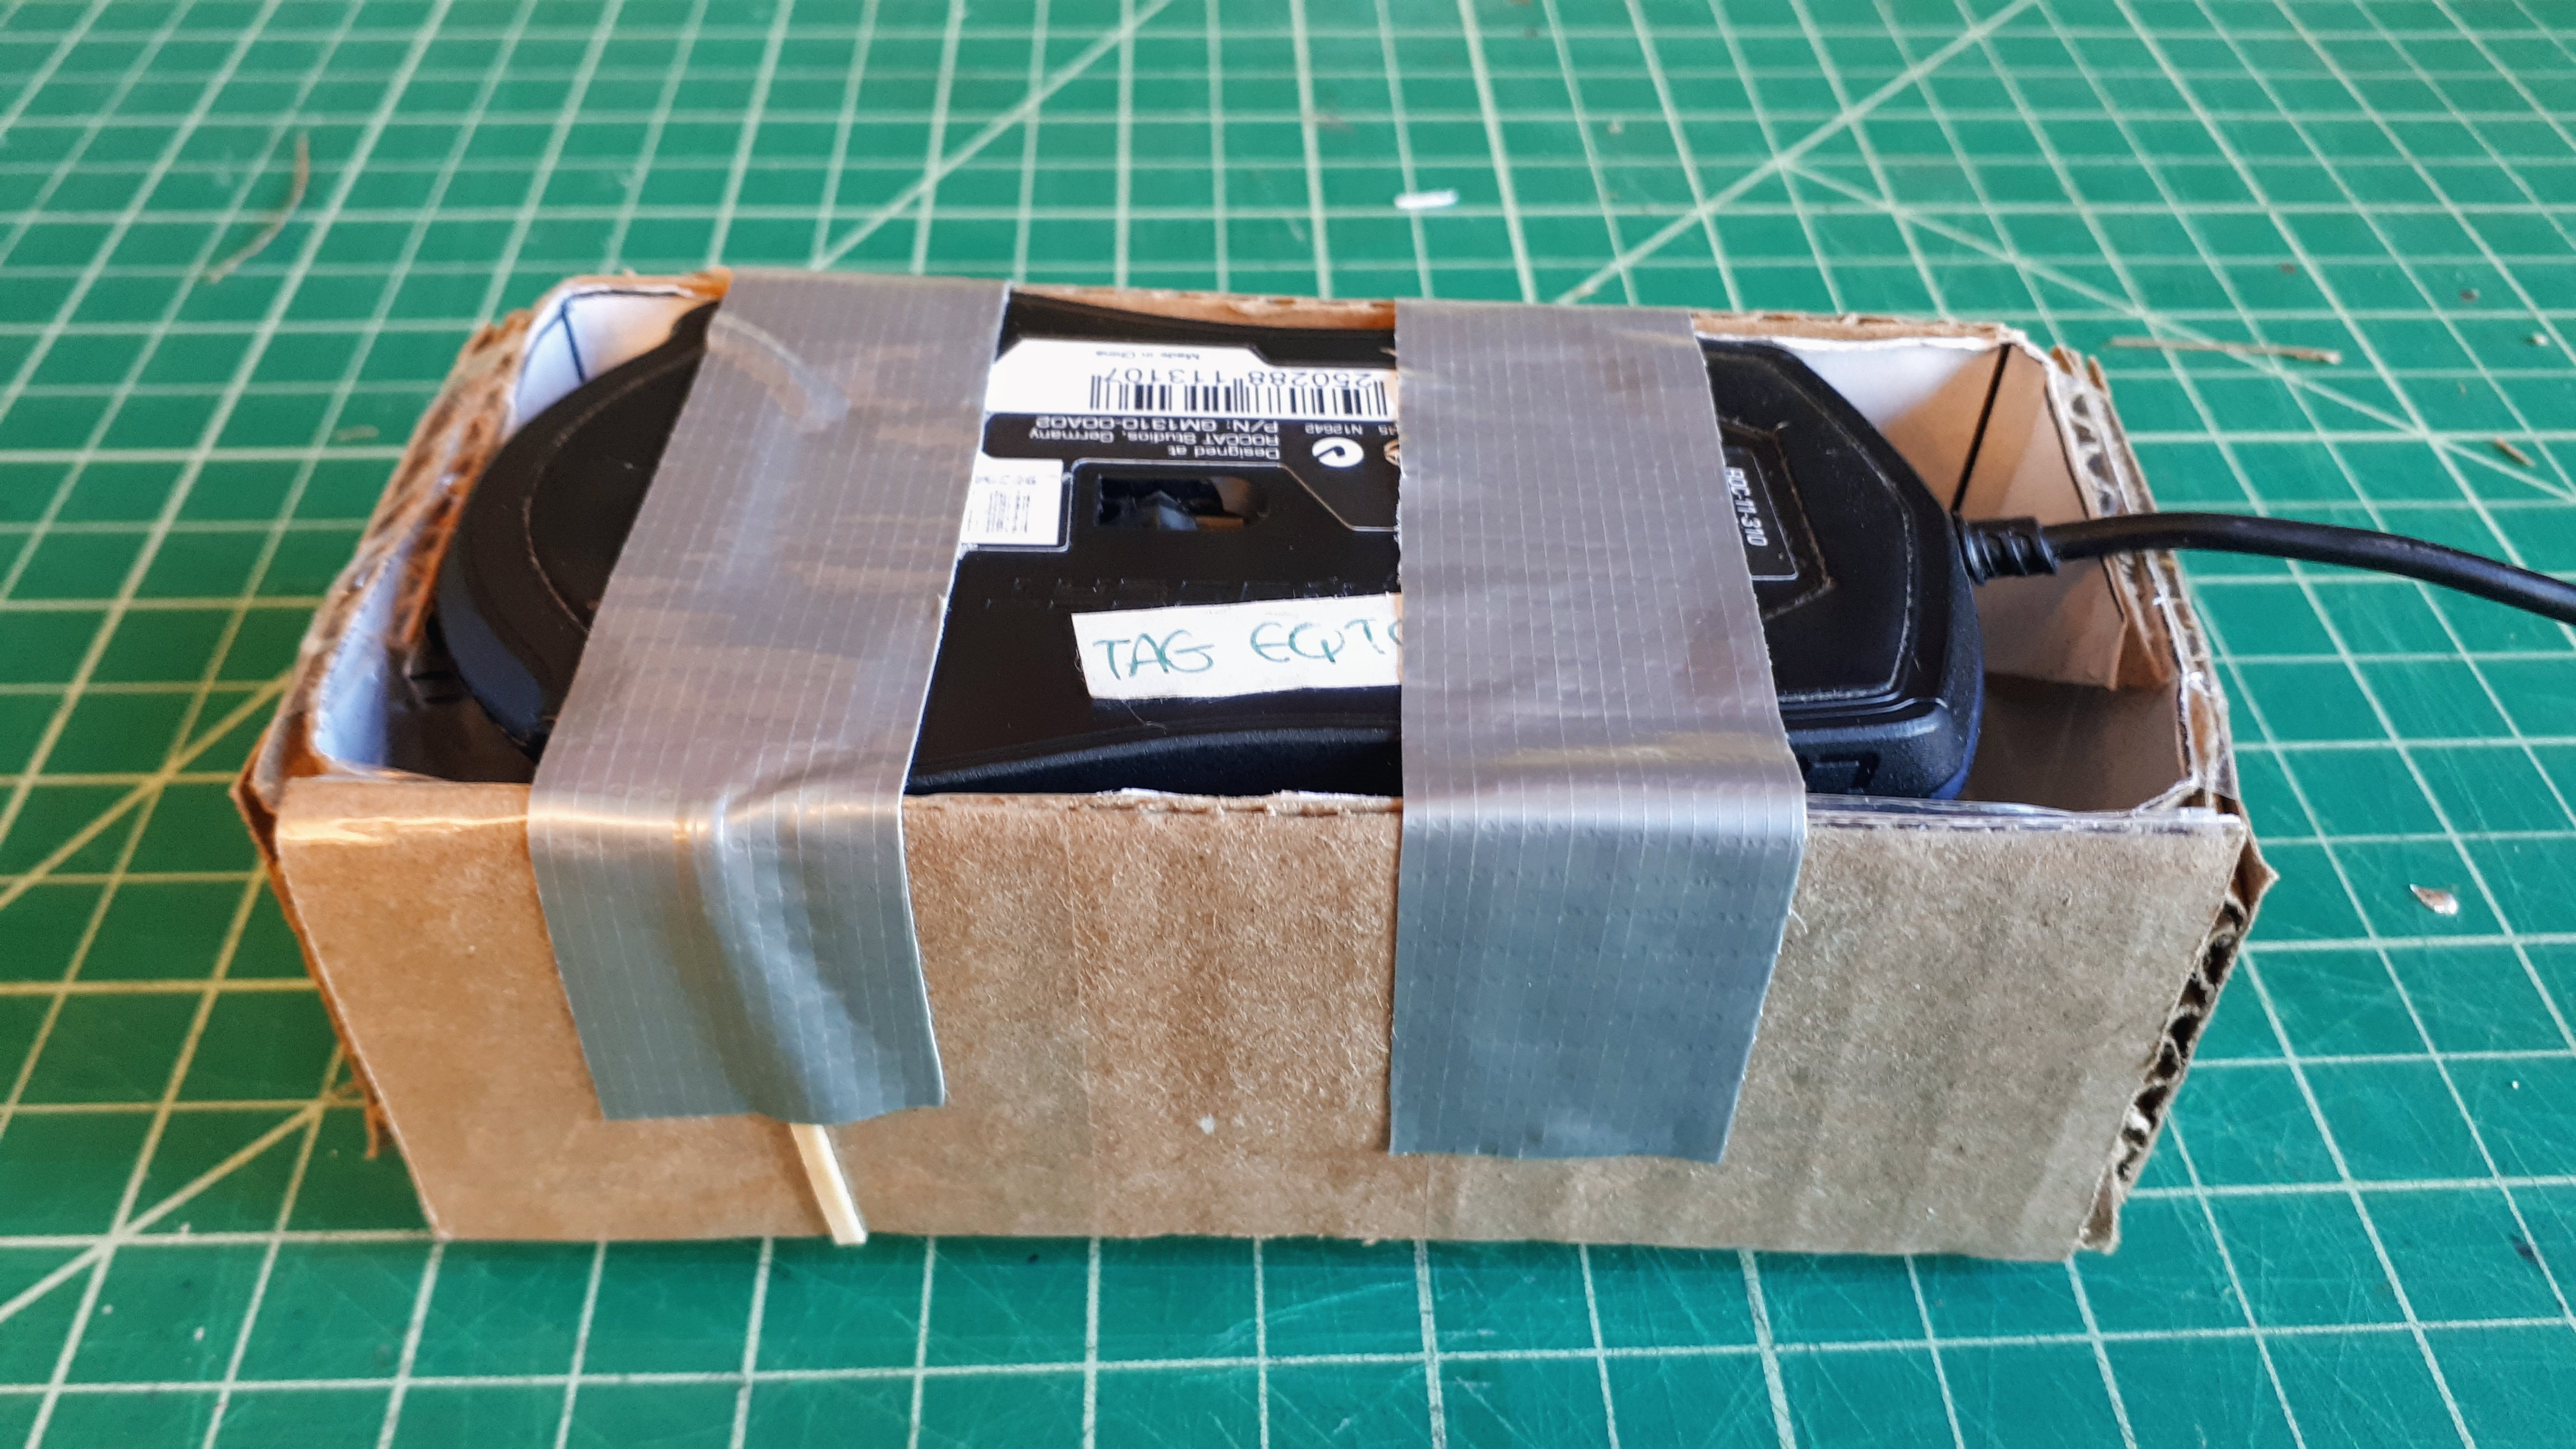
Put the dowel or stick on the front of the mouse’s left-button and into the box. The stick will click the mouse when pressed by the sieve. You will need to adjust the angle and position of the stick to get a good feel for the clicking.
We’re almost there. Make two small tape loops to fix the bottom of the box to a desk or other surfaces. This way it won’t move around when you are dragging the sieve over it. Now the base box is ready!
Mining sieve
The mining sieve holds the rocks. It needs a flat and smooth surface on its bottom side and strong sides. You can also repurpose a pizza box (it is our recommended way of making one) and reinforce it with duct tape. Another option is to use this cut-and-fold diagram.
Materials & equipment list
- 1x large piece of flat cardboard (at least XX per XX / )
- Duct tape
- Rocks!
- School glue
Instructions
Here are the steps in case you’re building the mining sieve from the diagram. If you’re repurposing a pizza box, just make sure to cut its lid off, reinforce its sides with duct tape, and add rocks!
Print the mining sieve diagram and glue it to a large flat cardboard.
Cut the solid lines, including the inside slots marked with a star.
Score the fold lines on the opposite side of the cardboard. Lightly use the box-cutter to cut the top-layer of the marked line without going all the way through the cardboard.
Fold the different parts and introduce the lips in the slots to fix them together.
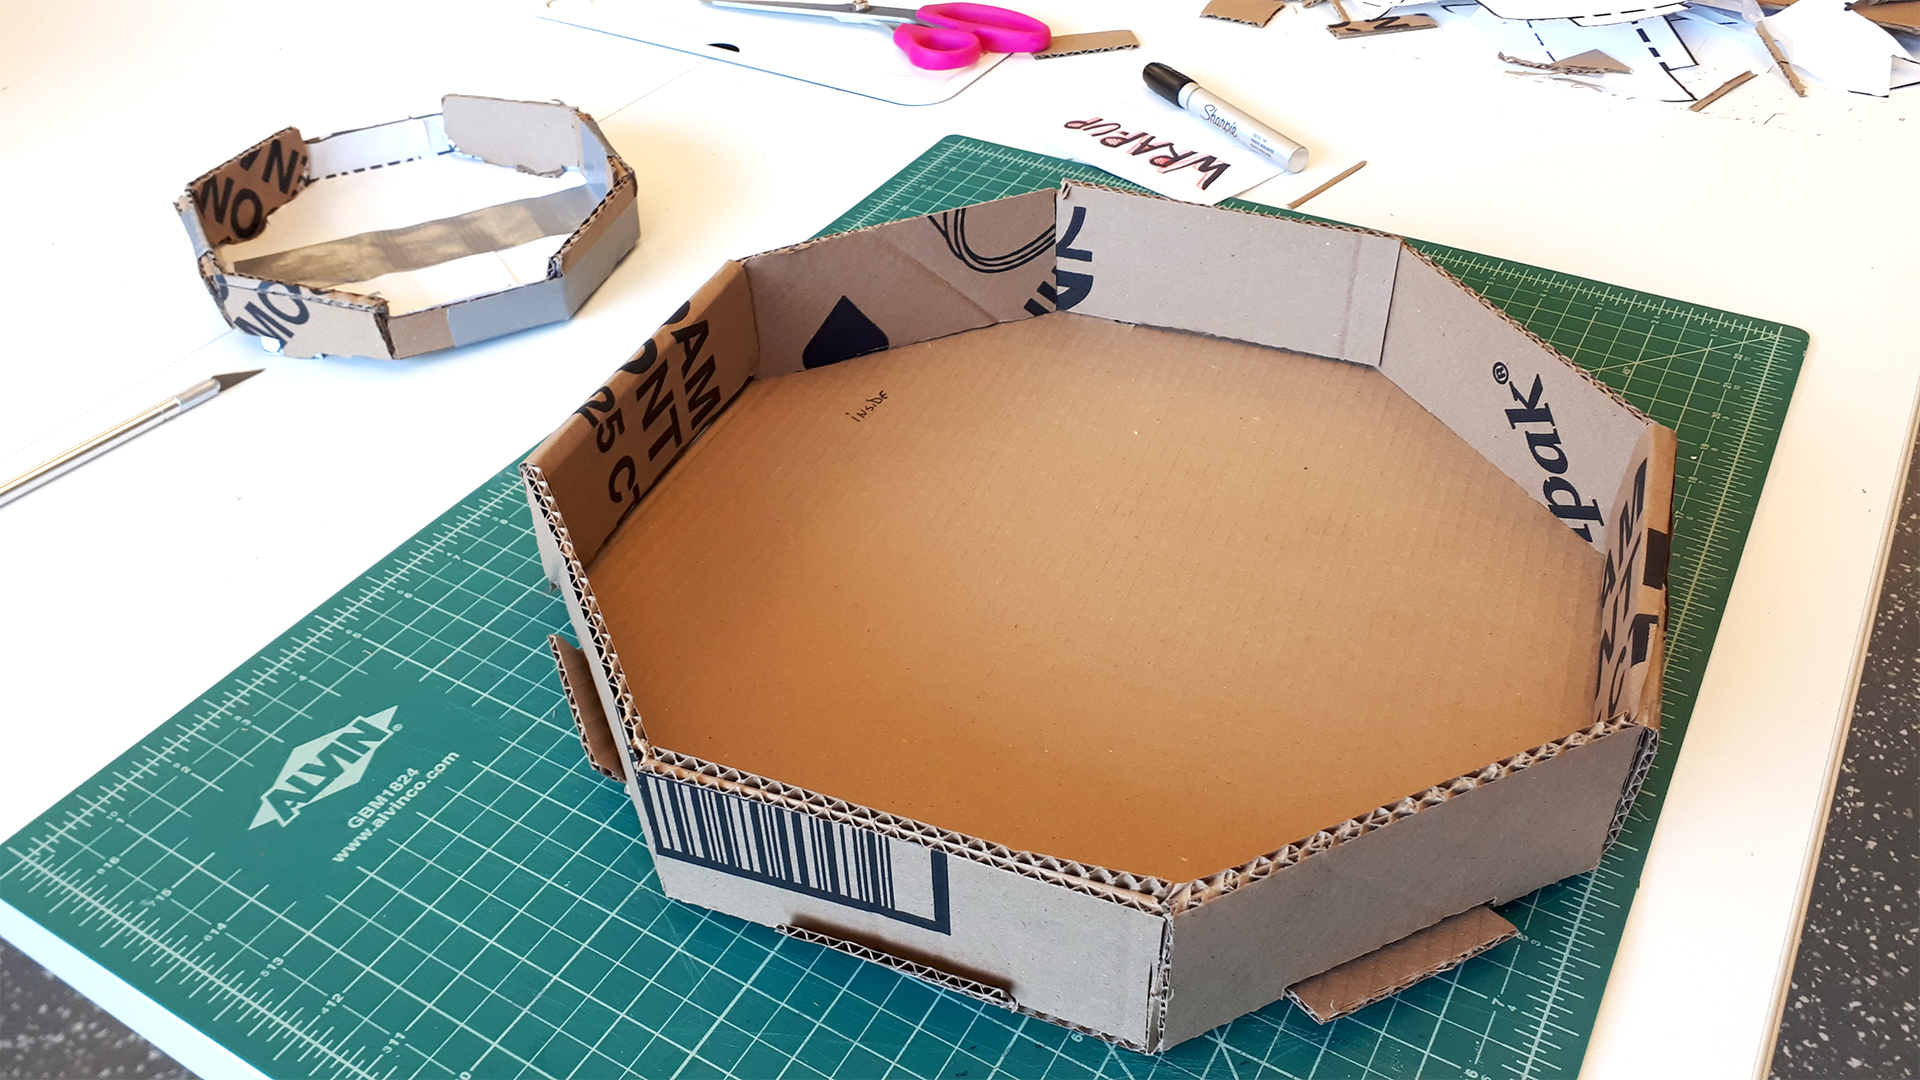
Use the duct tape to fix the lips to the side walls of the sieve.

Make a cross with tape starting from the outside bottom side of the sieve, going over the side wall, all the way to the other side. This will strengthen the bottom of the sieve.
Tape a long band that circles all the outside walls of the sieve. By doing this, it will deform much less under the weight of the rocks.
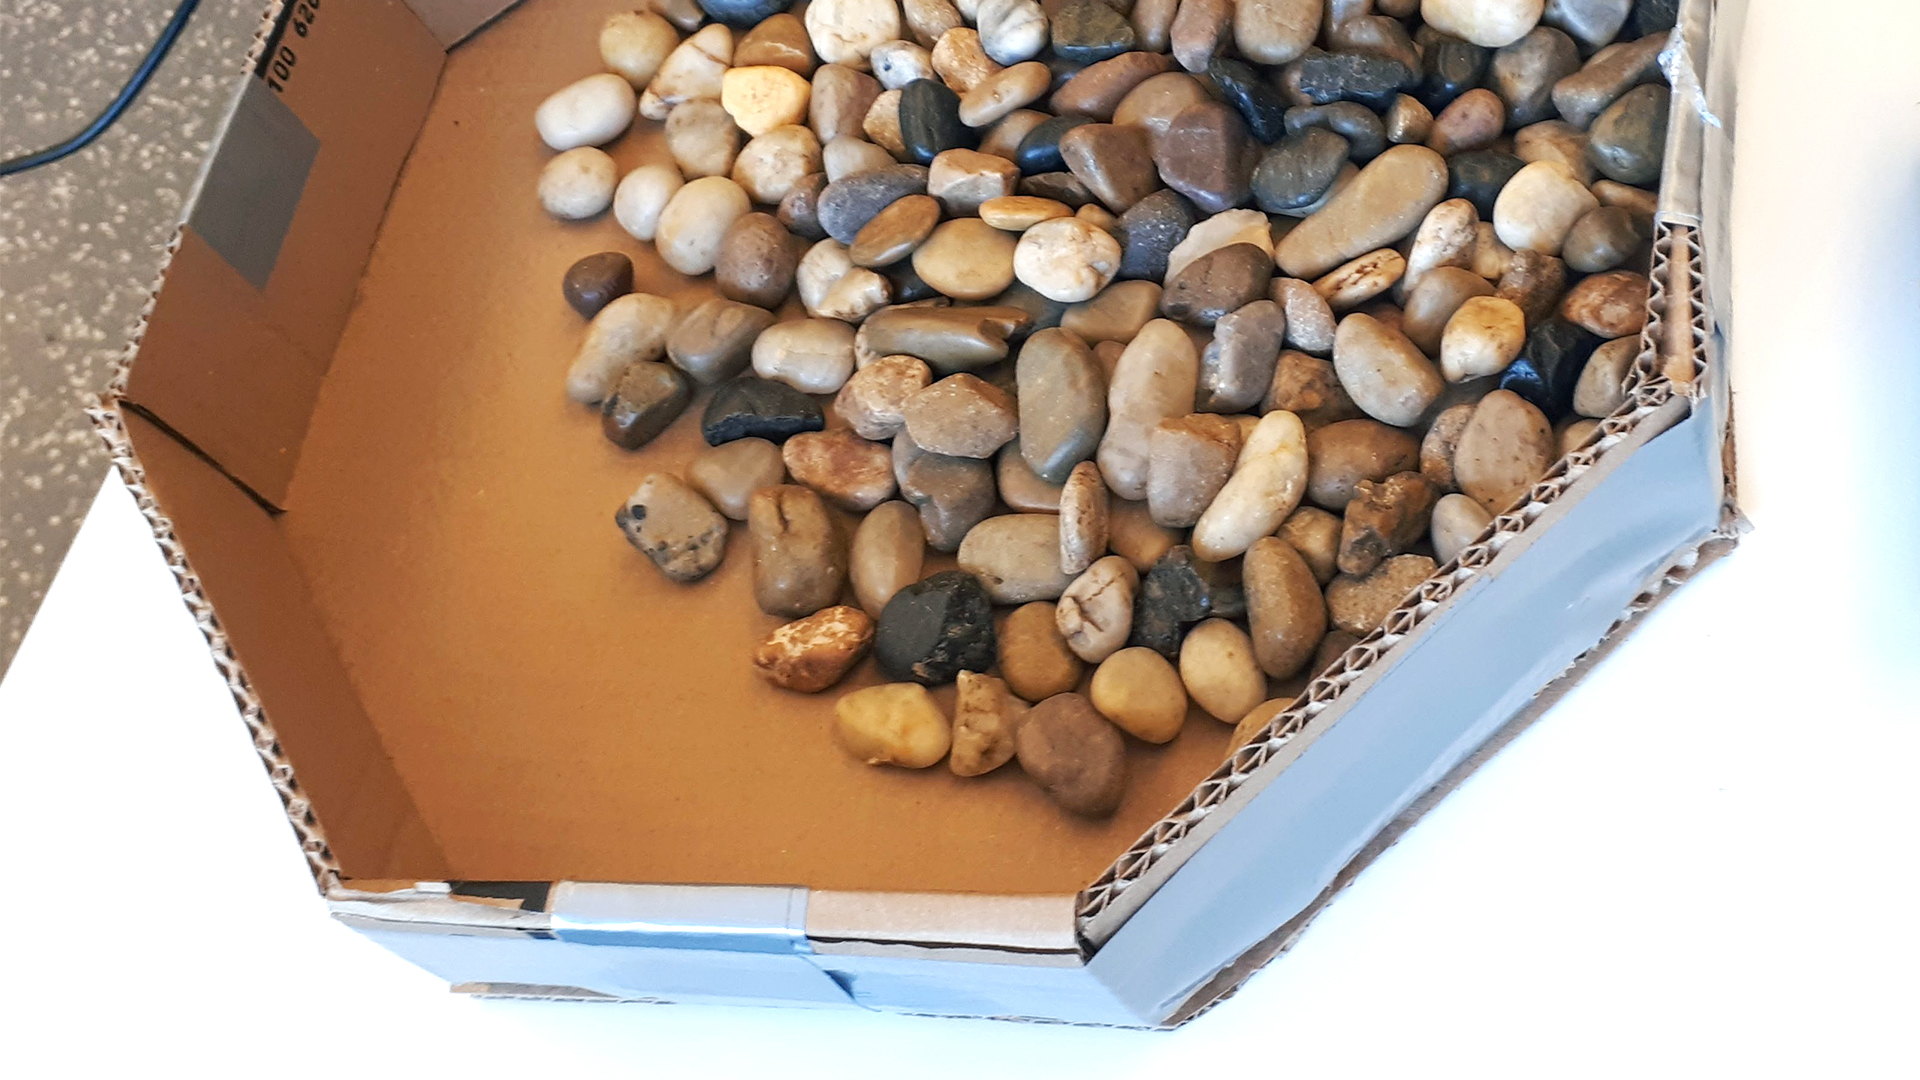
Add the rocks!
